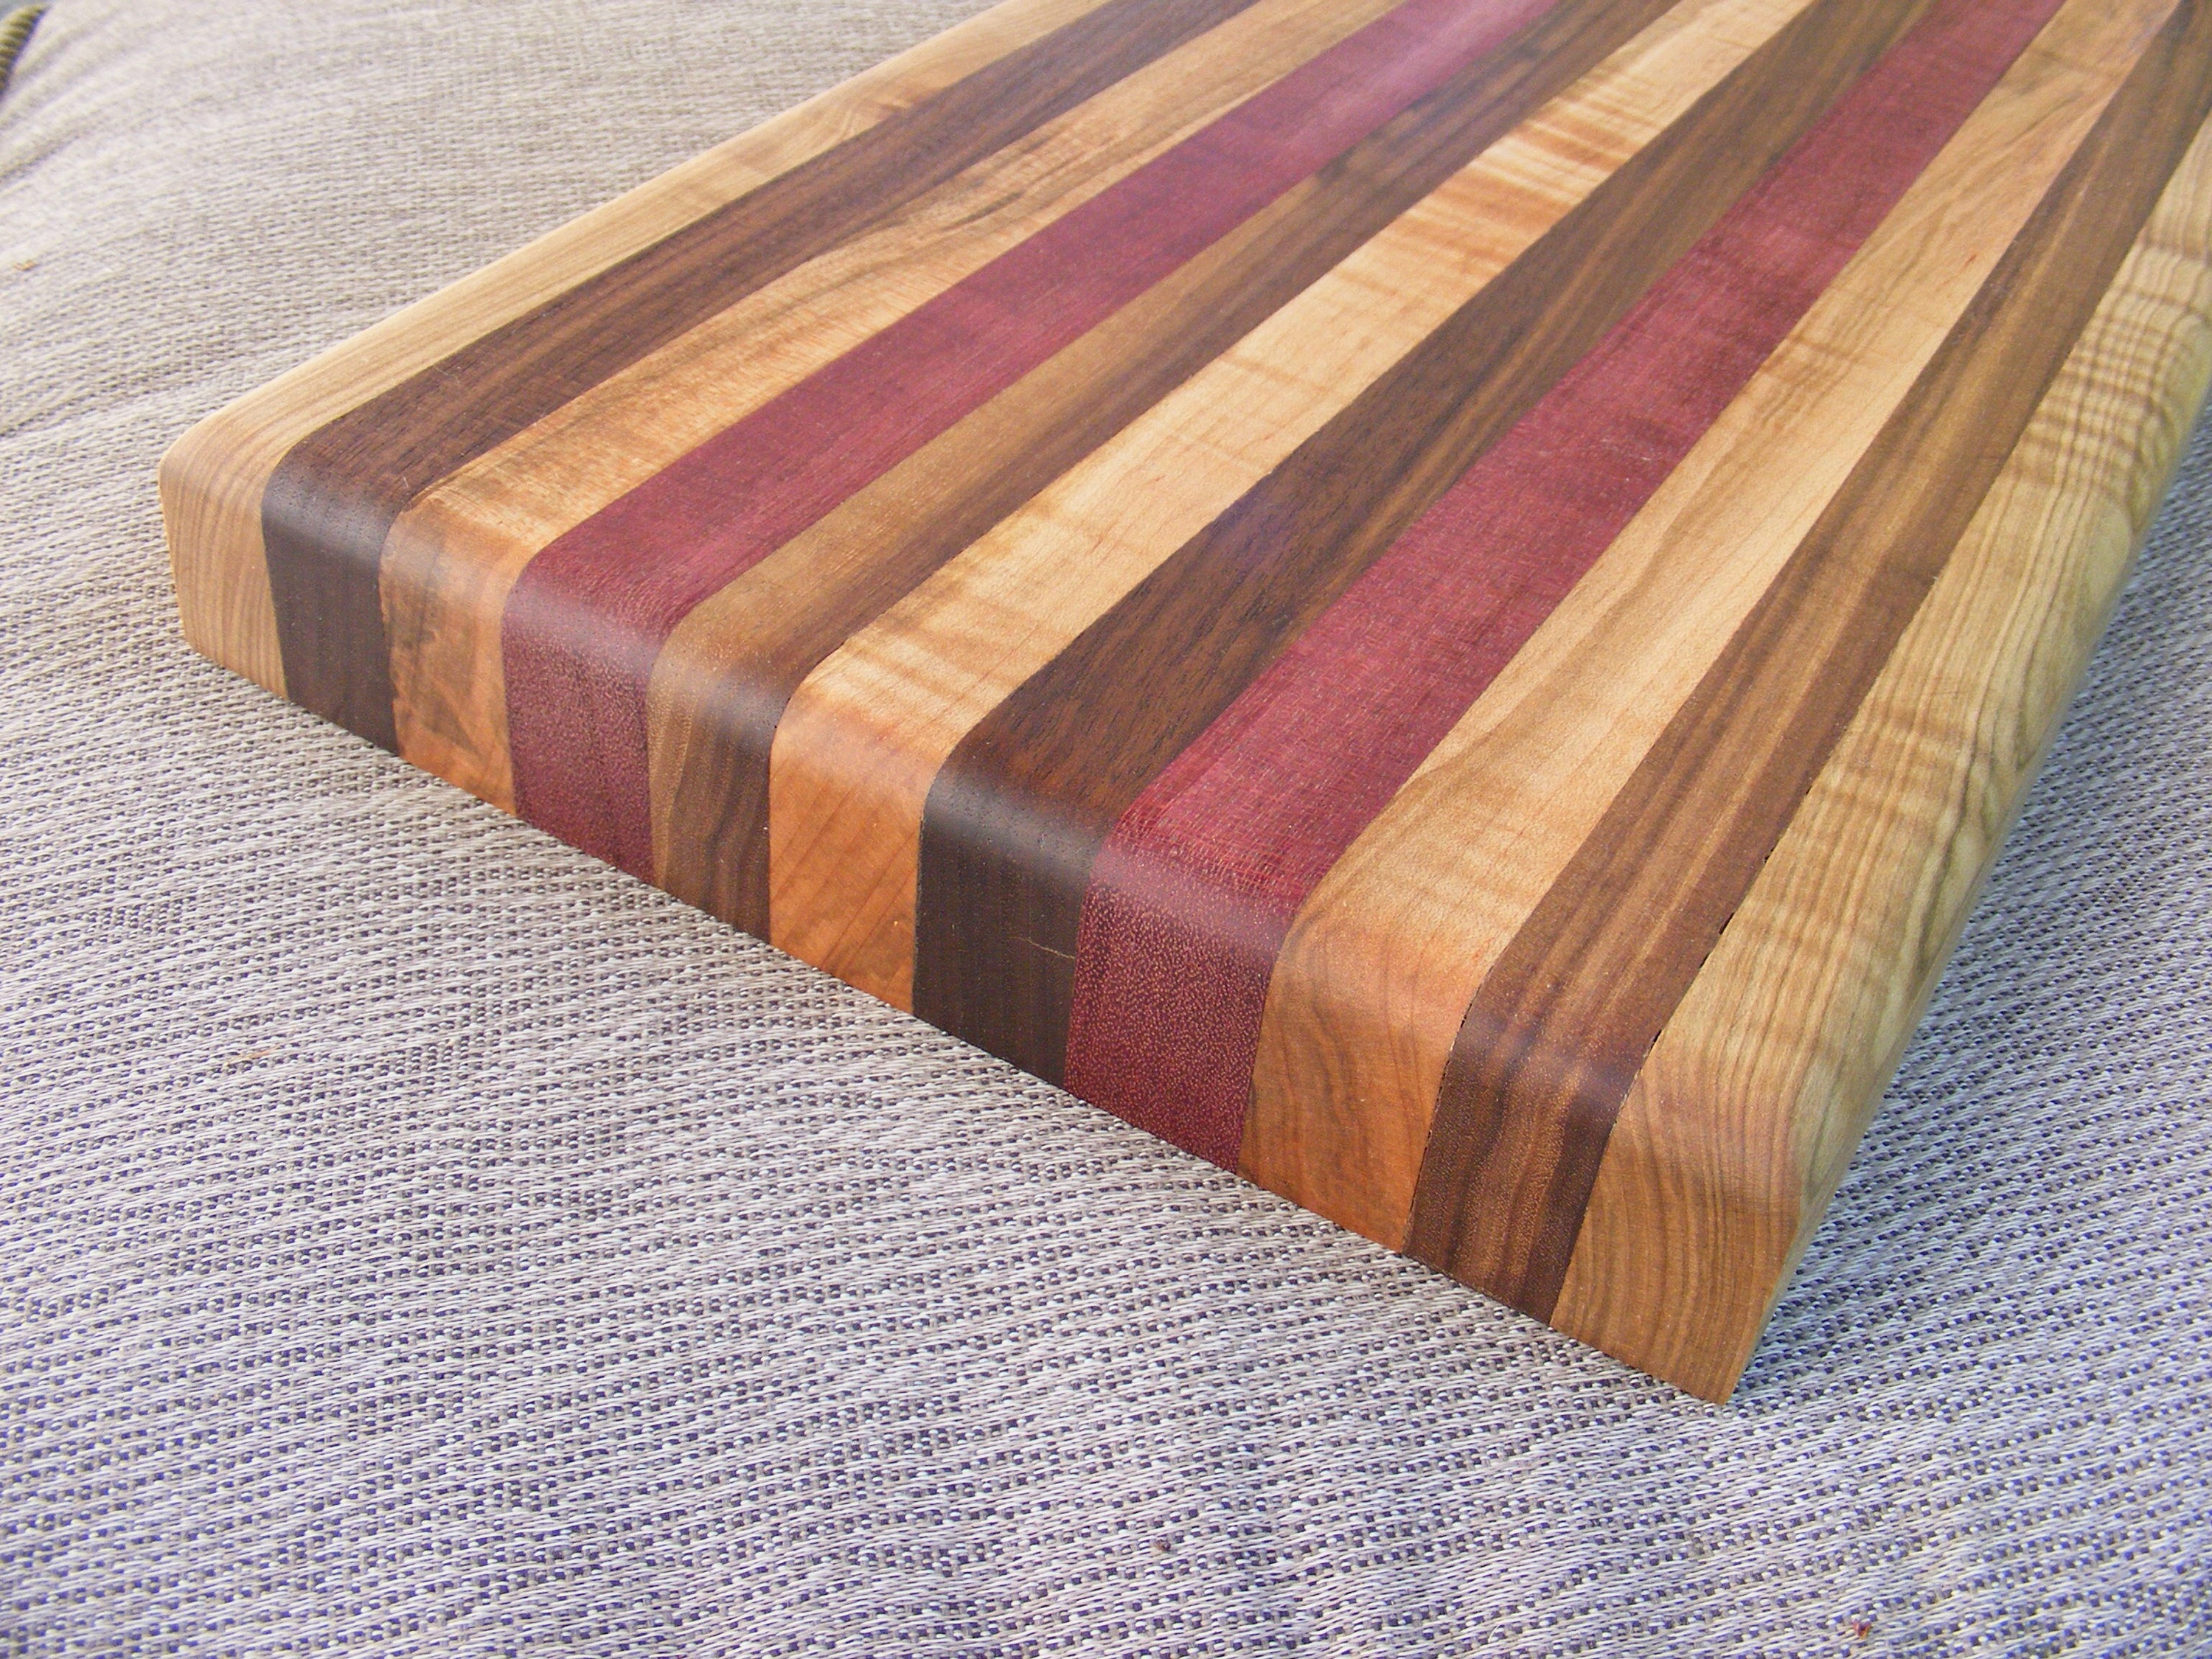
Okay, I can check this one off my project bucket list, but I thoroughly enjoyed making my first wooden cutting board. And, I look forward to making many more. In this tutorial, I’ll share 11 steps to making a cutting board. Since this is the first one I’ve made, I can also pass on some valuable lessons learned.
NOTE: Some of the links below are Amazon affiliate links. You can use these links to purchase tools or materials to make this project. If you do, I will get a small commission from Amazon. That definitely helps me with expenses for this website. Thanks for your support!
First, I’d like to say this project was relatively easy. You only need a few basic tools. The most time-consuming part was the sanding since I don’t own a planer. If done correctly, this cutting board will last a long time and make a wonderful addition to anyone’s kitchen. I plan to make about 3 more and give these away to some special people in my life.

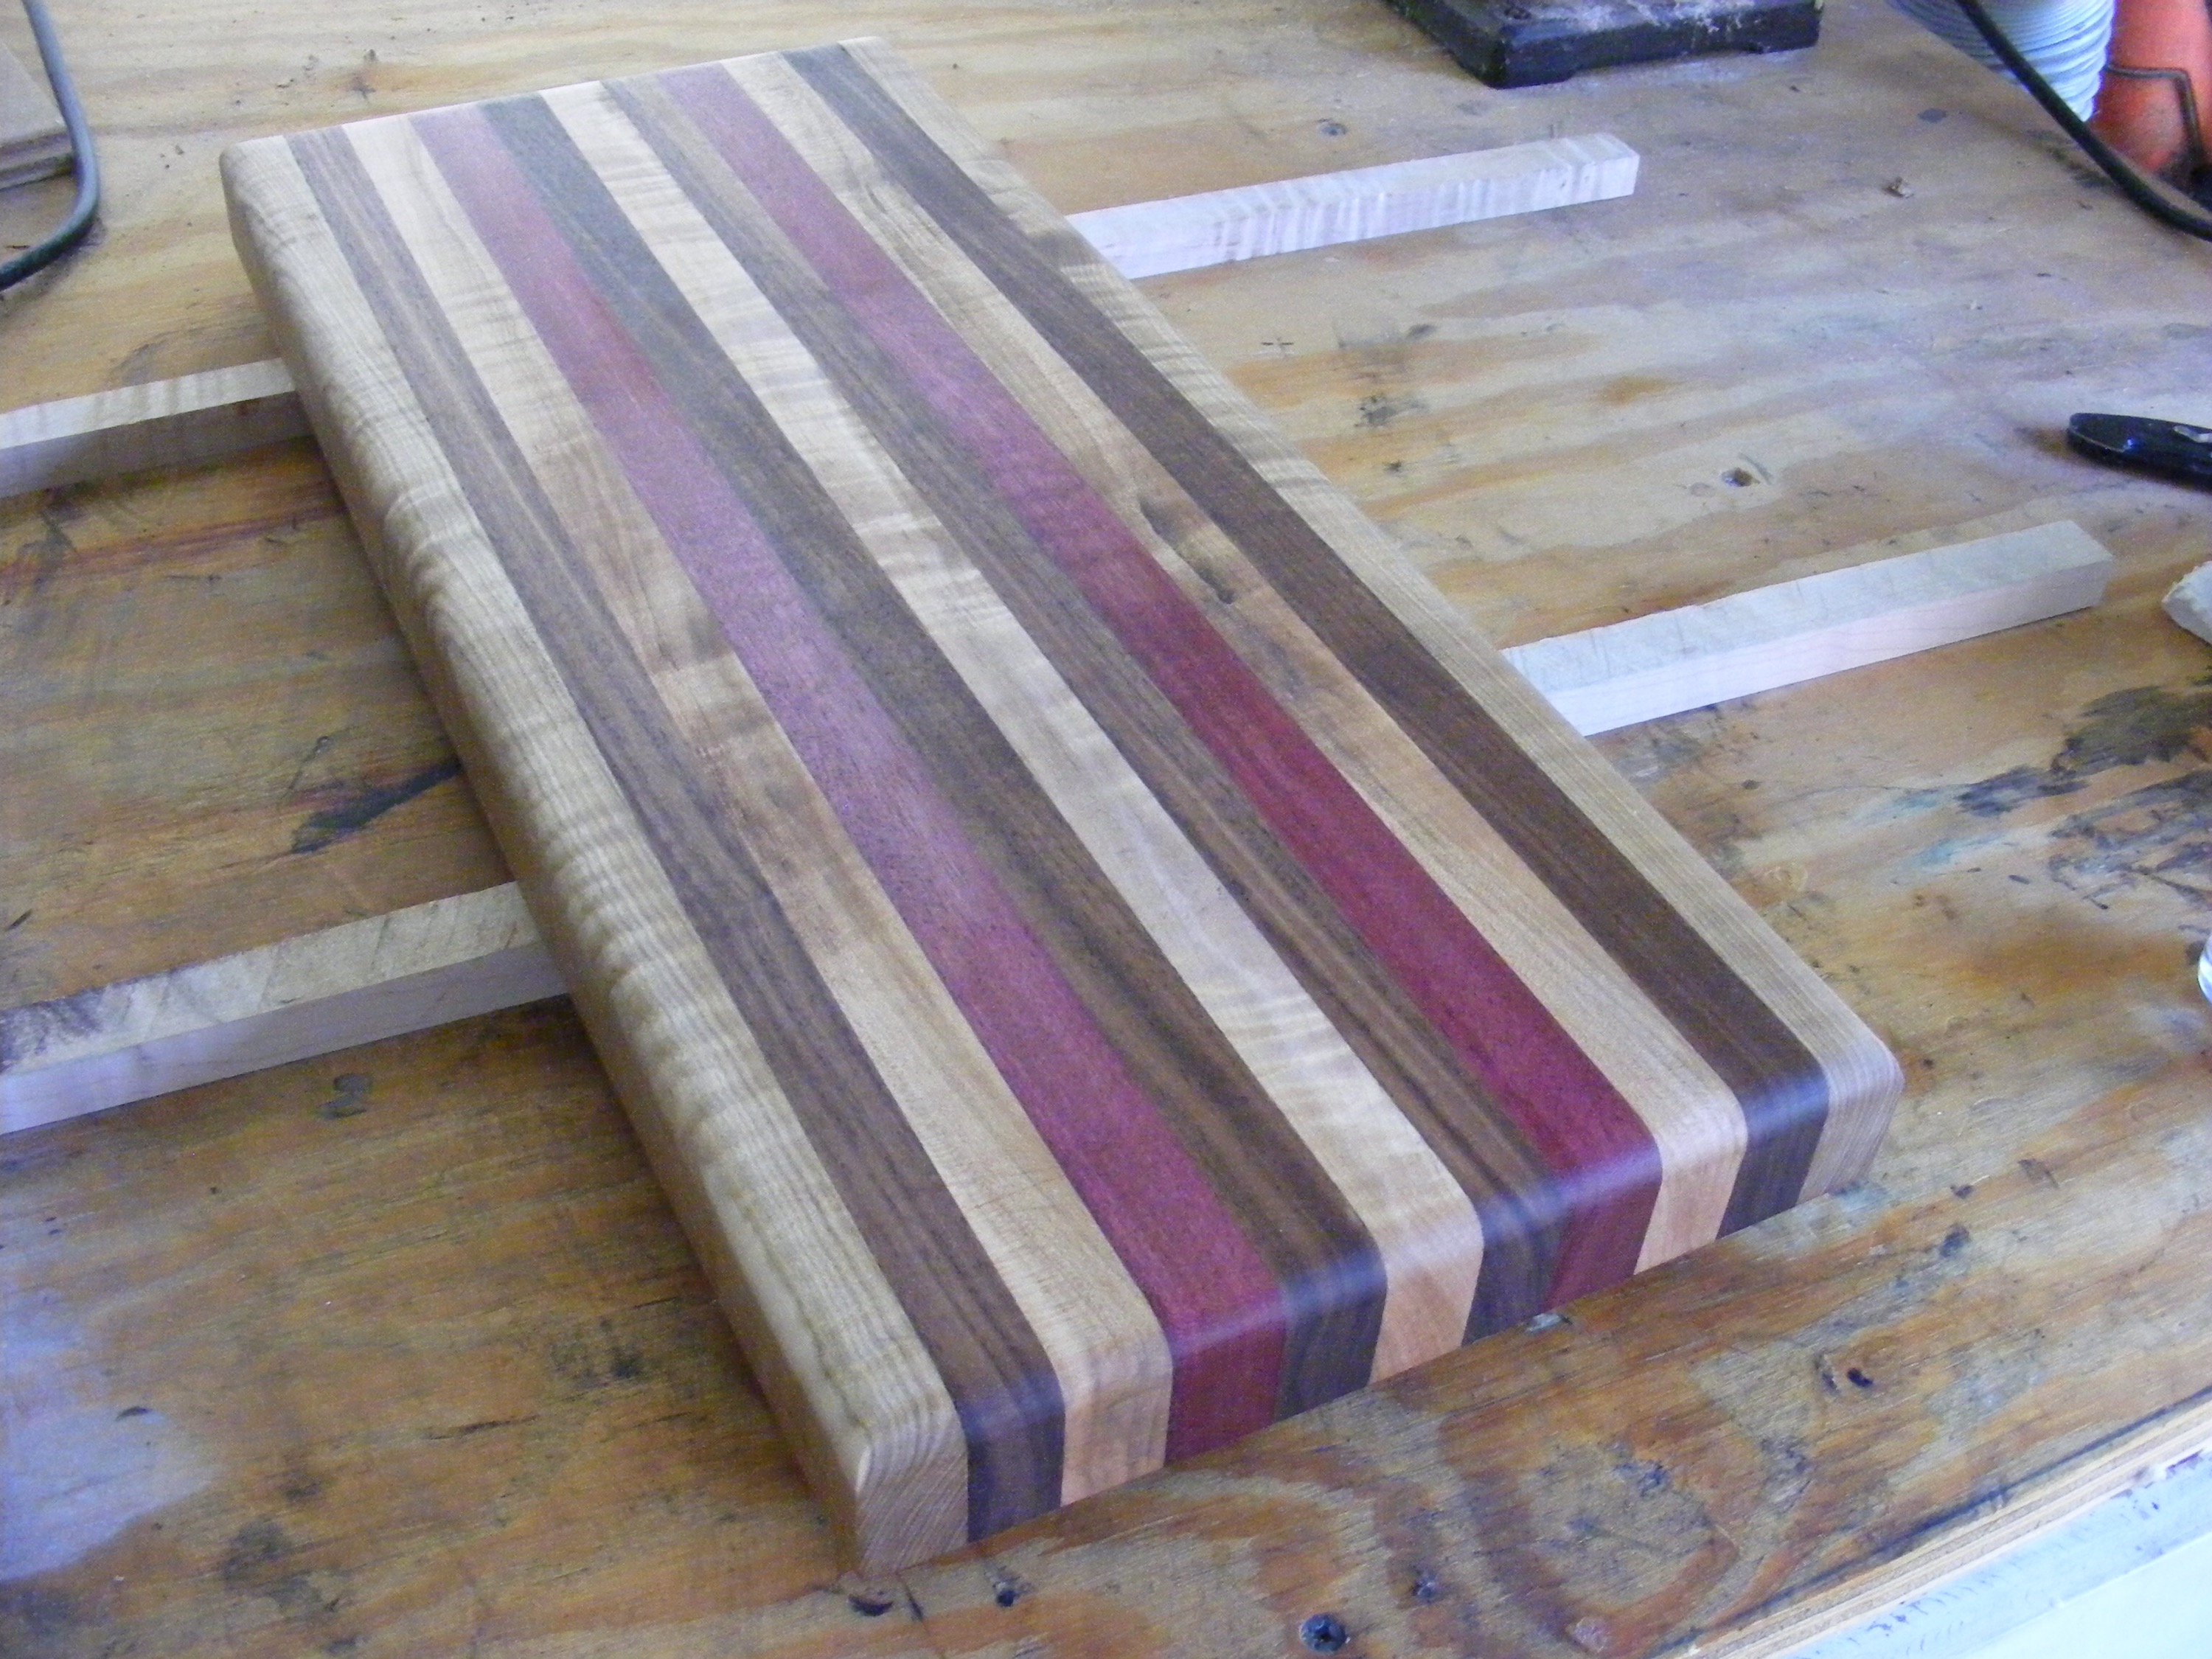
I learned that maple, walnut, and cherry seem to be the most popular woods for making cutting boards. I decided to use curly maple, walnut, and purpleheart for the one in this tutorial. You have to be careful with using exotic woods and their potential toxins, but based on my research, purpleheart poses a very low risk for cutting boards
I used Titebond III glue for its holding strength and waterproof properties.
Though optional, I also added 4 rubber feet to my cutting board.
Tools needed:
- Tablesaw
- Sandpaper (80, 120, 220, & 400 grit)
- Router(and rounding over bit)
- t-square
Also, you will need food-safe Mineral Oil to treat the cutting board once finished. Or checkout my recipe for making a beeswax / mineral oil mix.
Do a search on Pinterest or Google, and you’ll quickly find that cutting boards come in all shapes and sizes. I’d recommend that you look at cutting boards you already own or compare your project with a few in the store. This will give you some ideas, but, again, don’t sweat these details. Of course, you want it to be a practical size—meaning you can store it away in the kitchen cabinet or wherever.
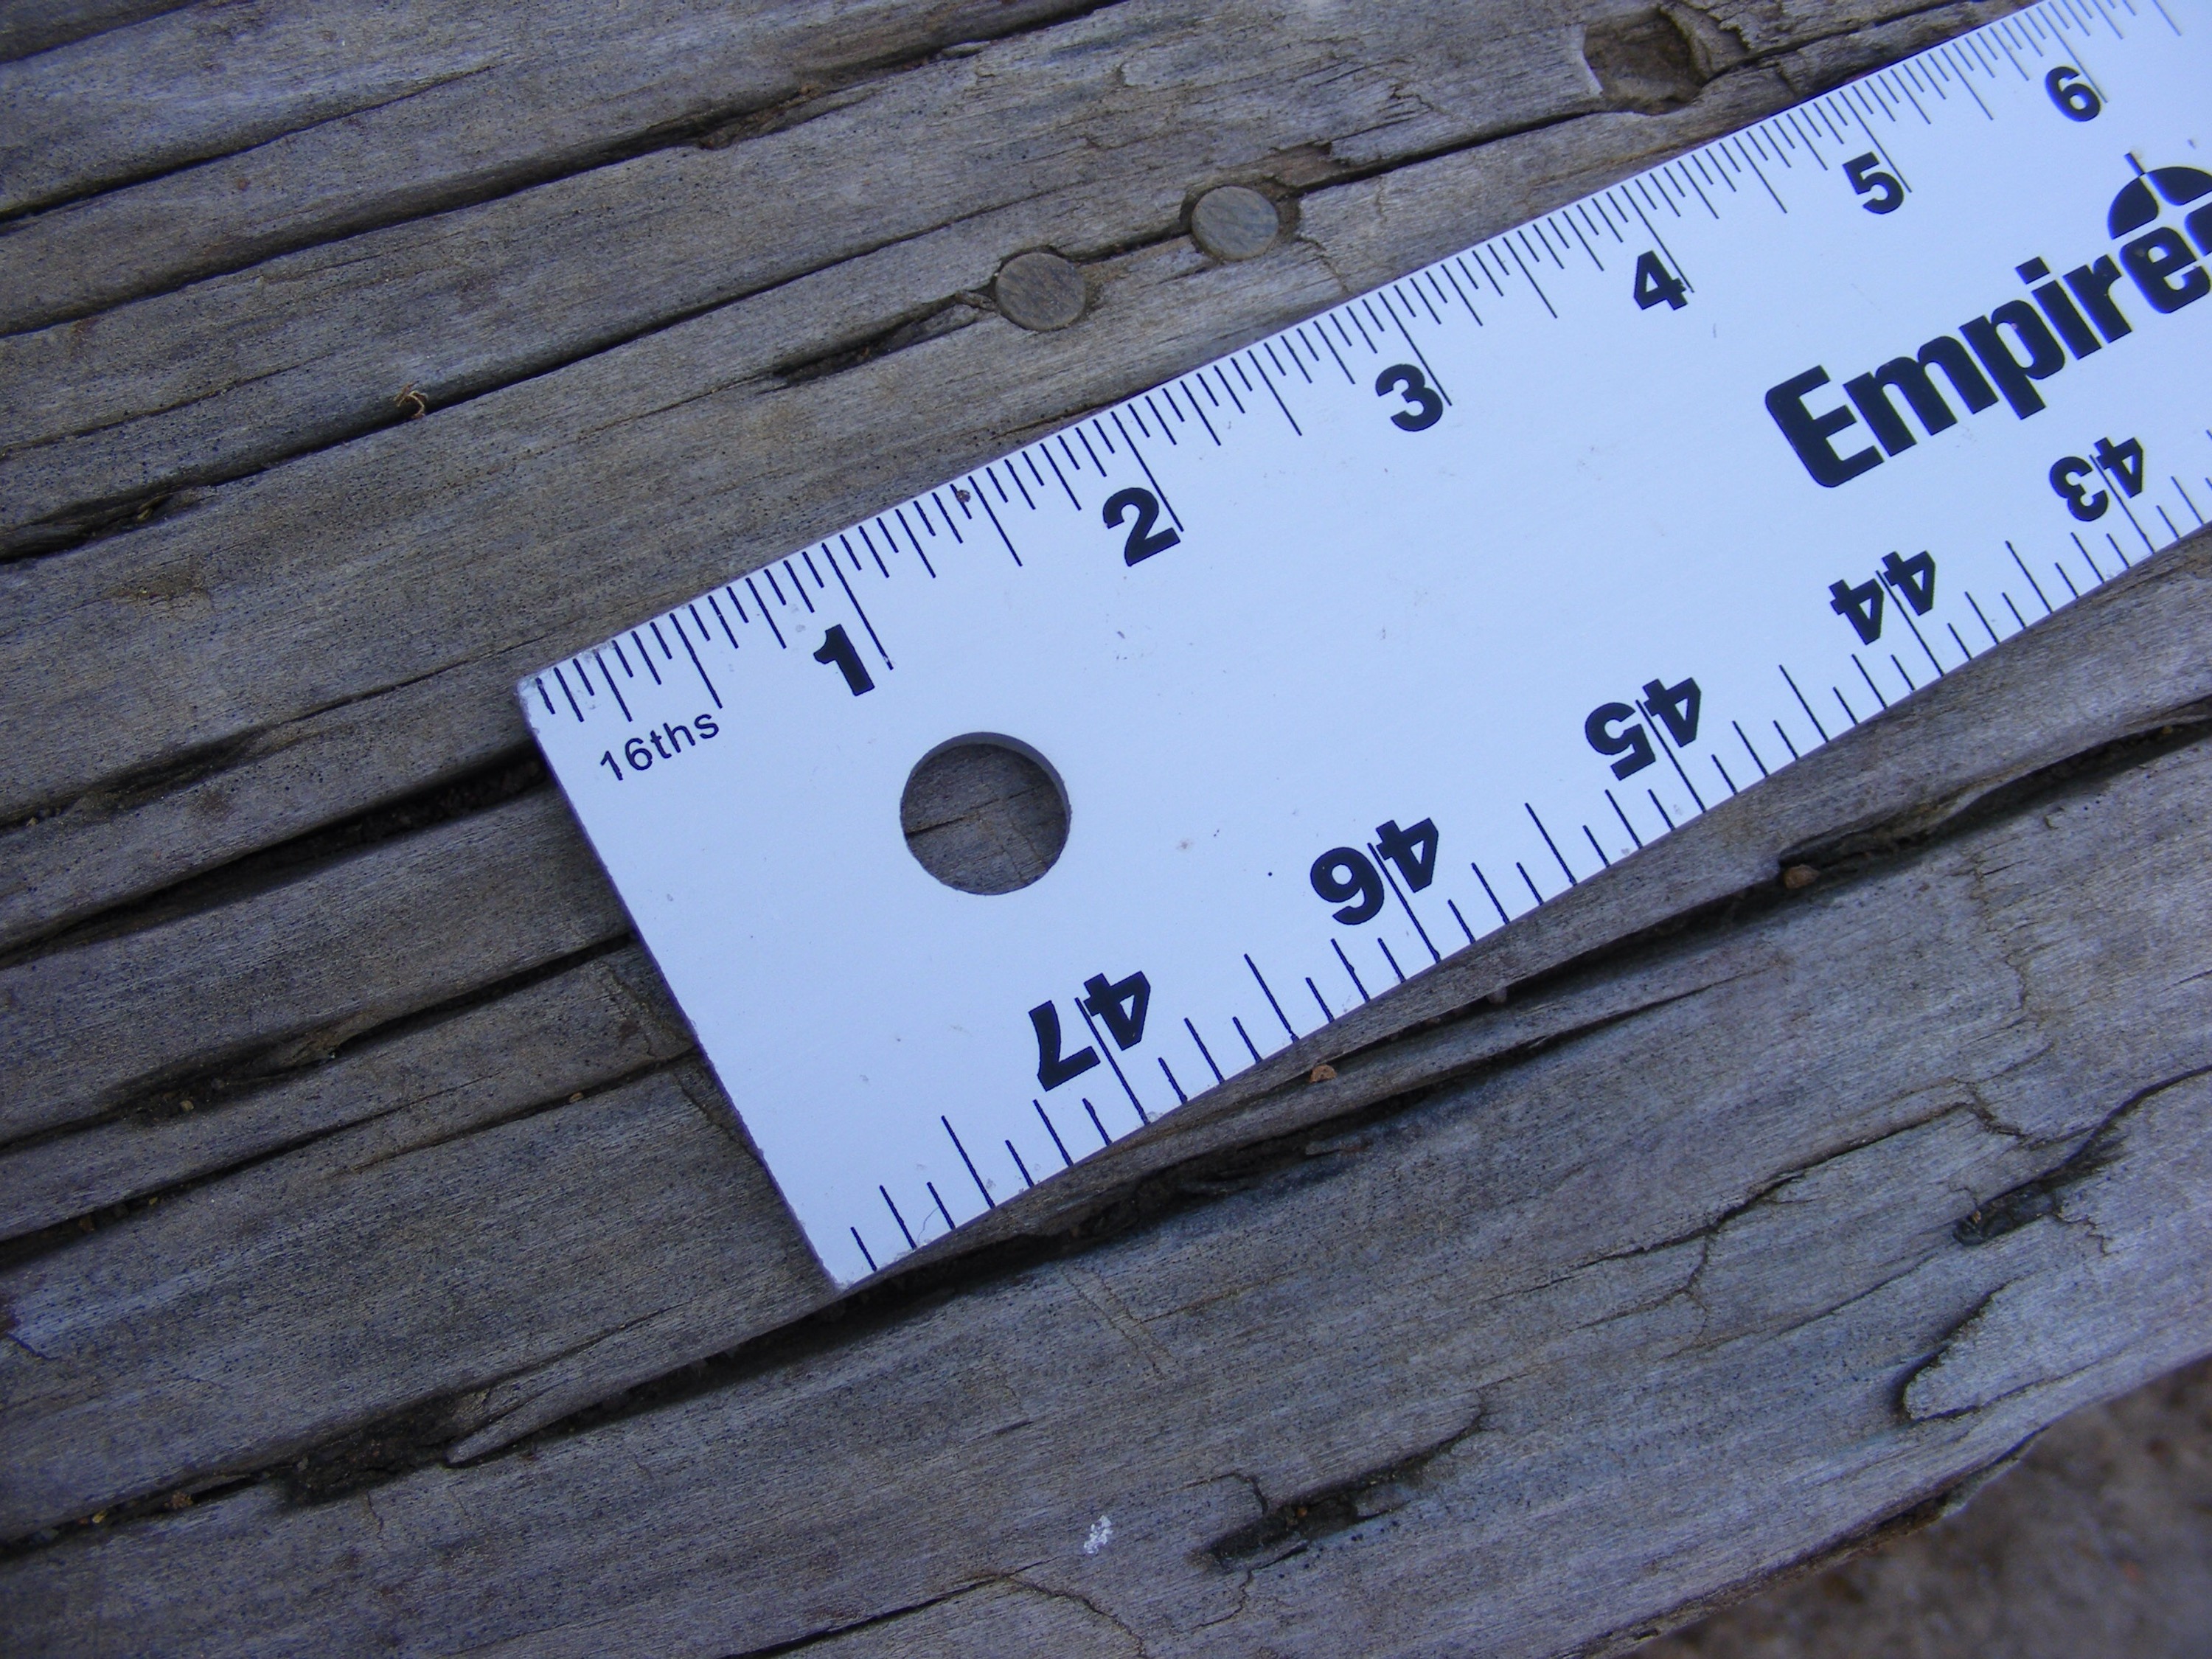
My board turned out being 21 inches long by 9 inches wide by 1.5 inches thick. Hindsight, it might be a little thicker than it needs to be, but I didn’t want it to warp. I’ve noticed that a lot of boards are around an inch or less thick. You should also think about what you will use the cutting board for and how much it will be used.
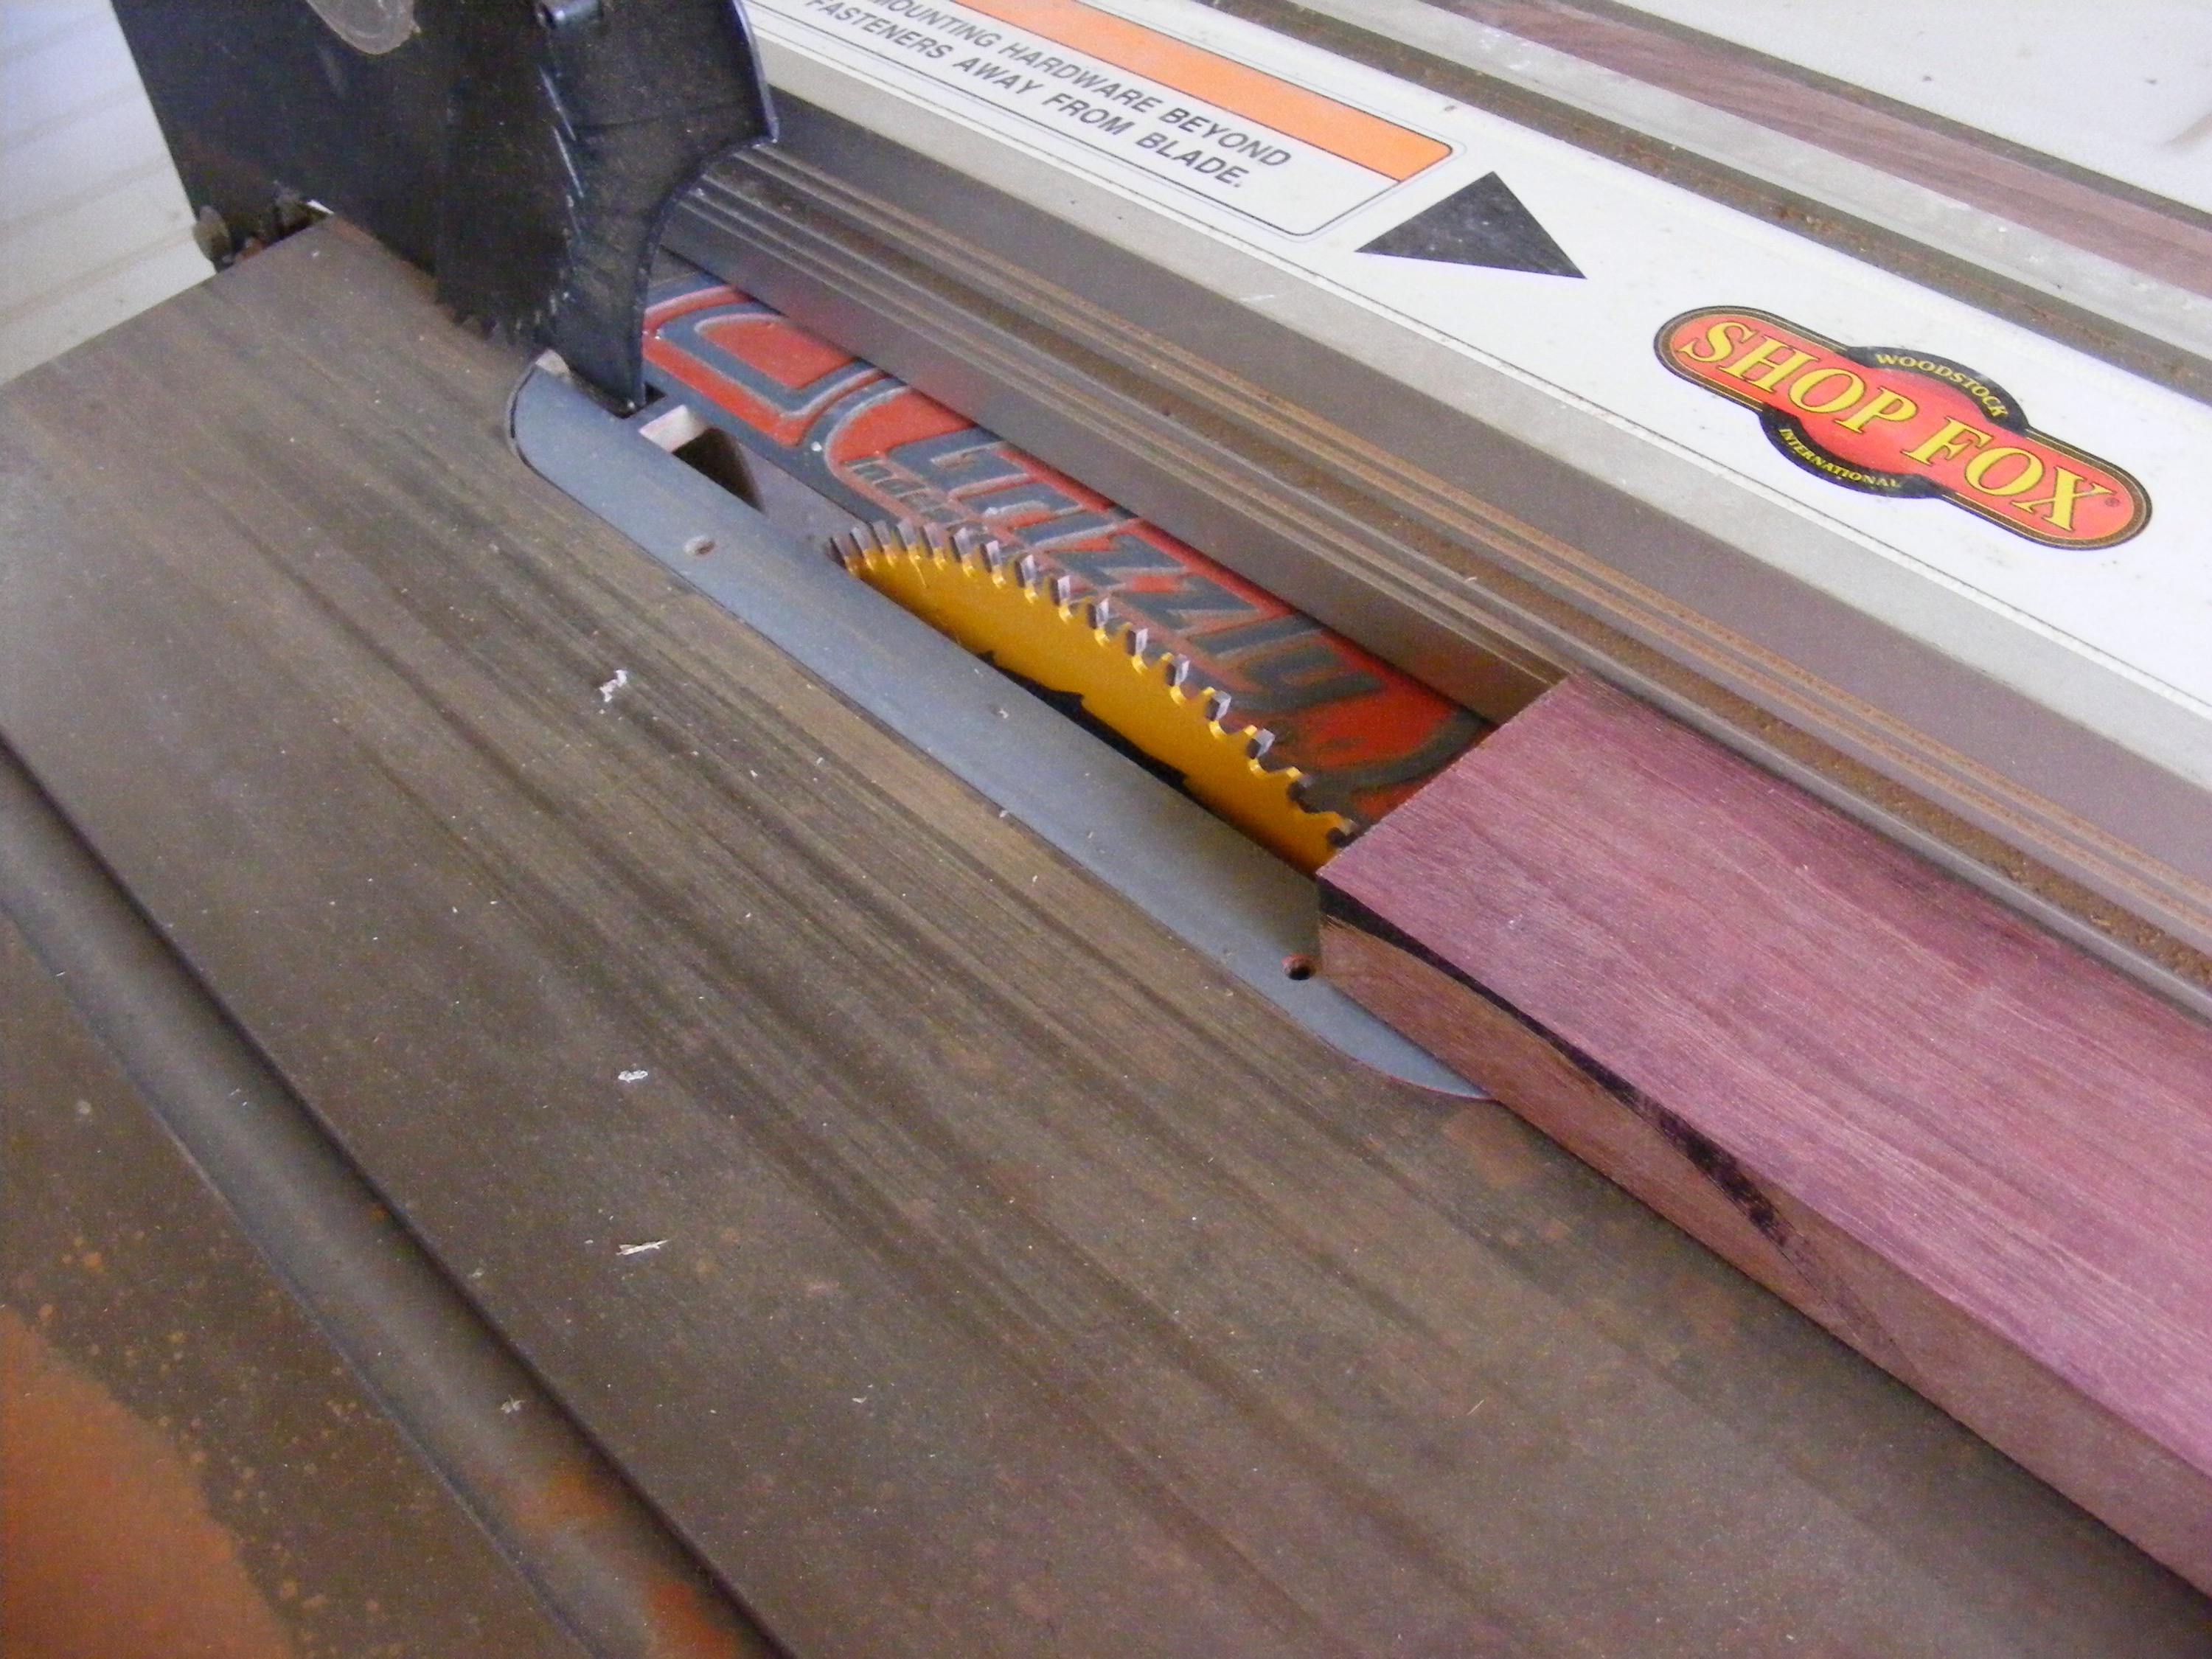
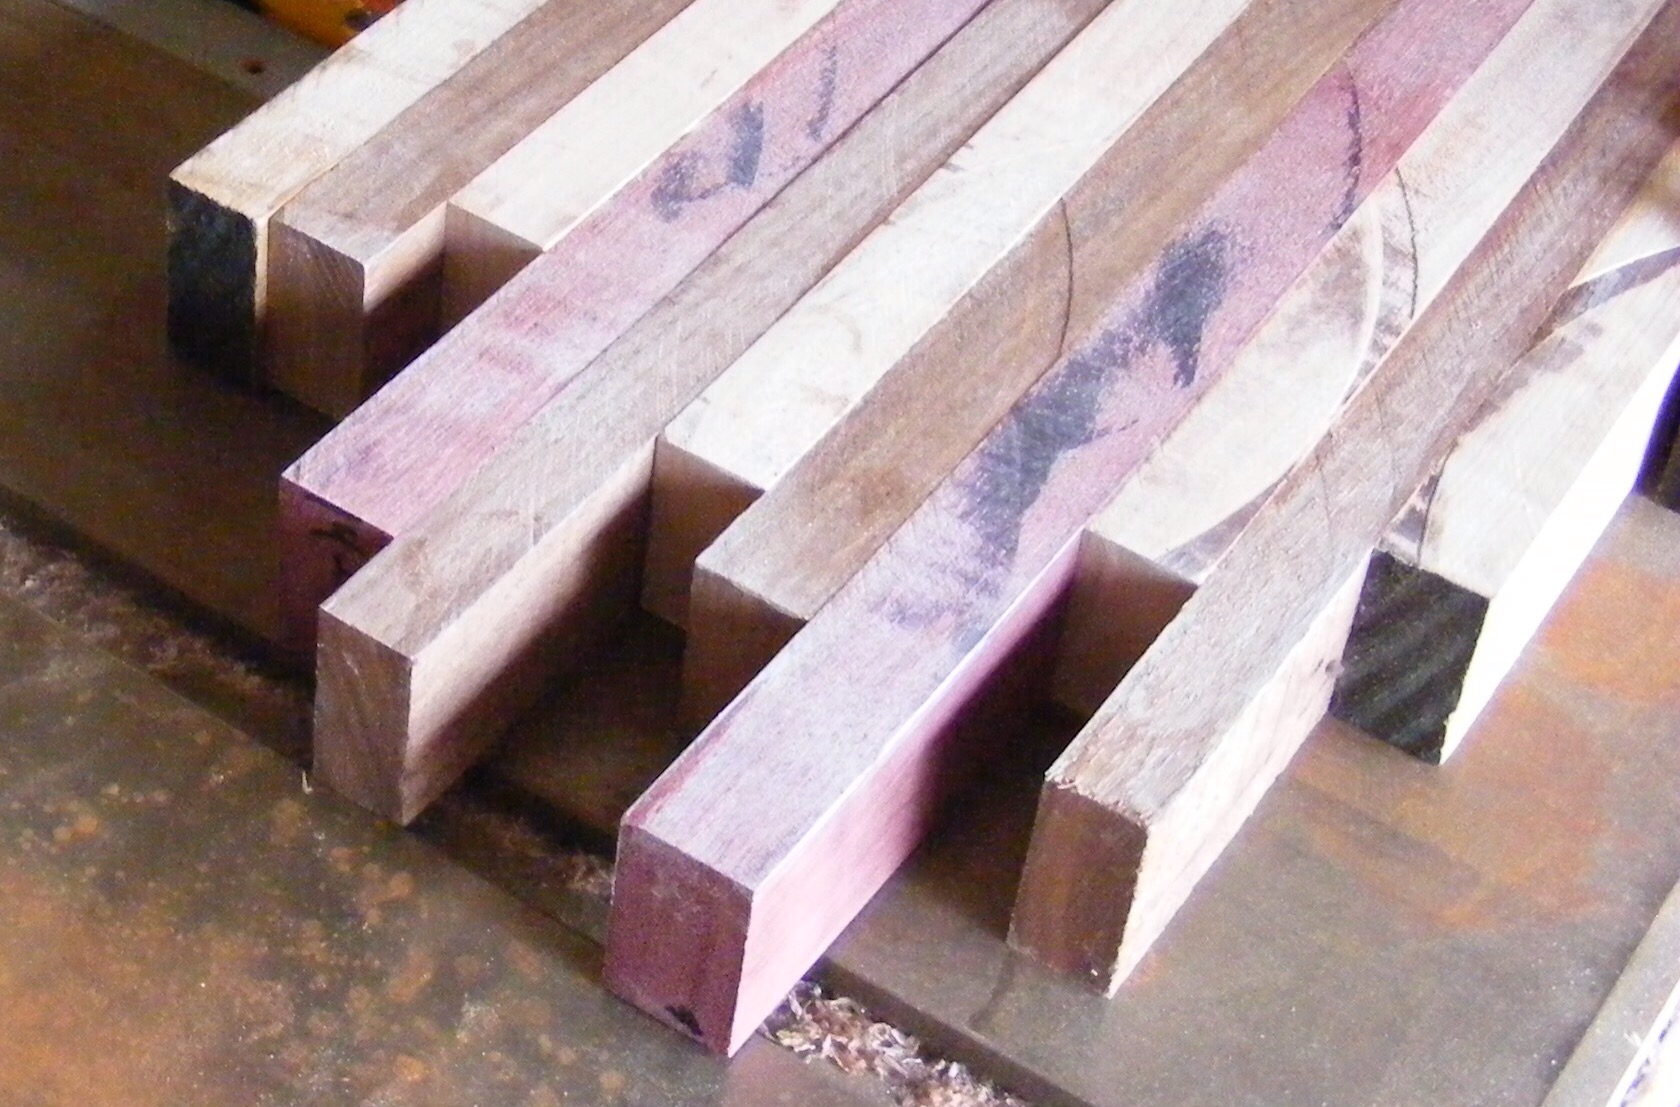
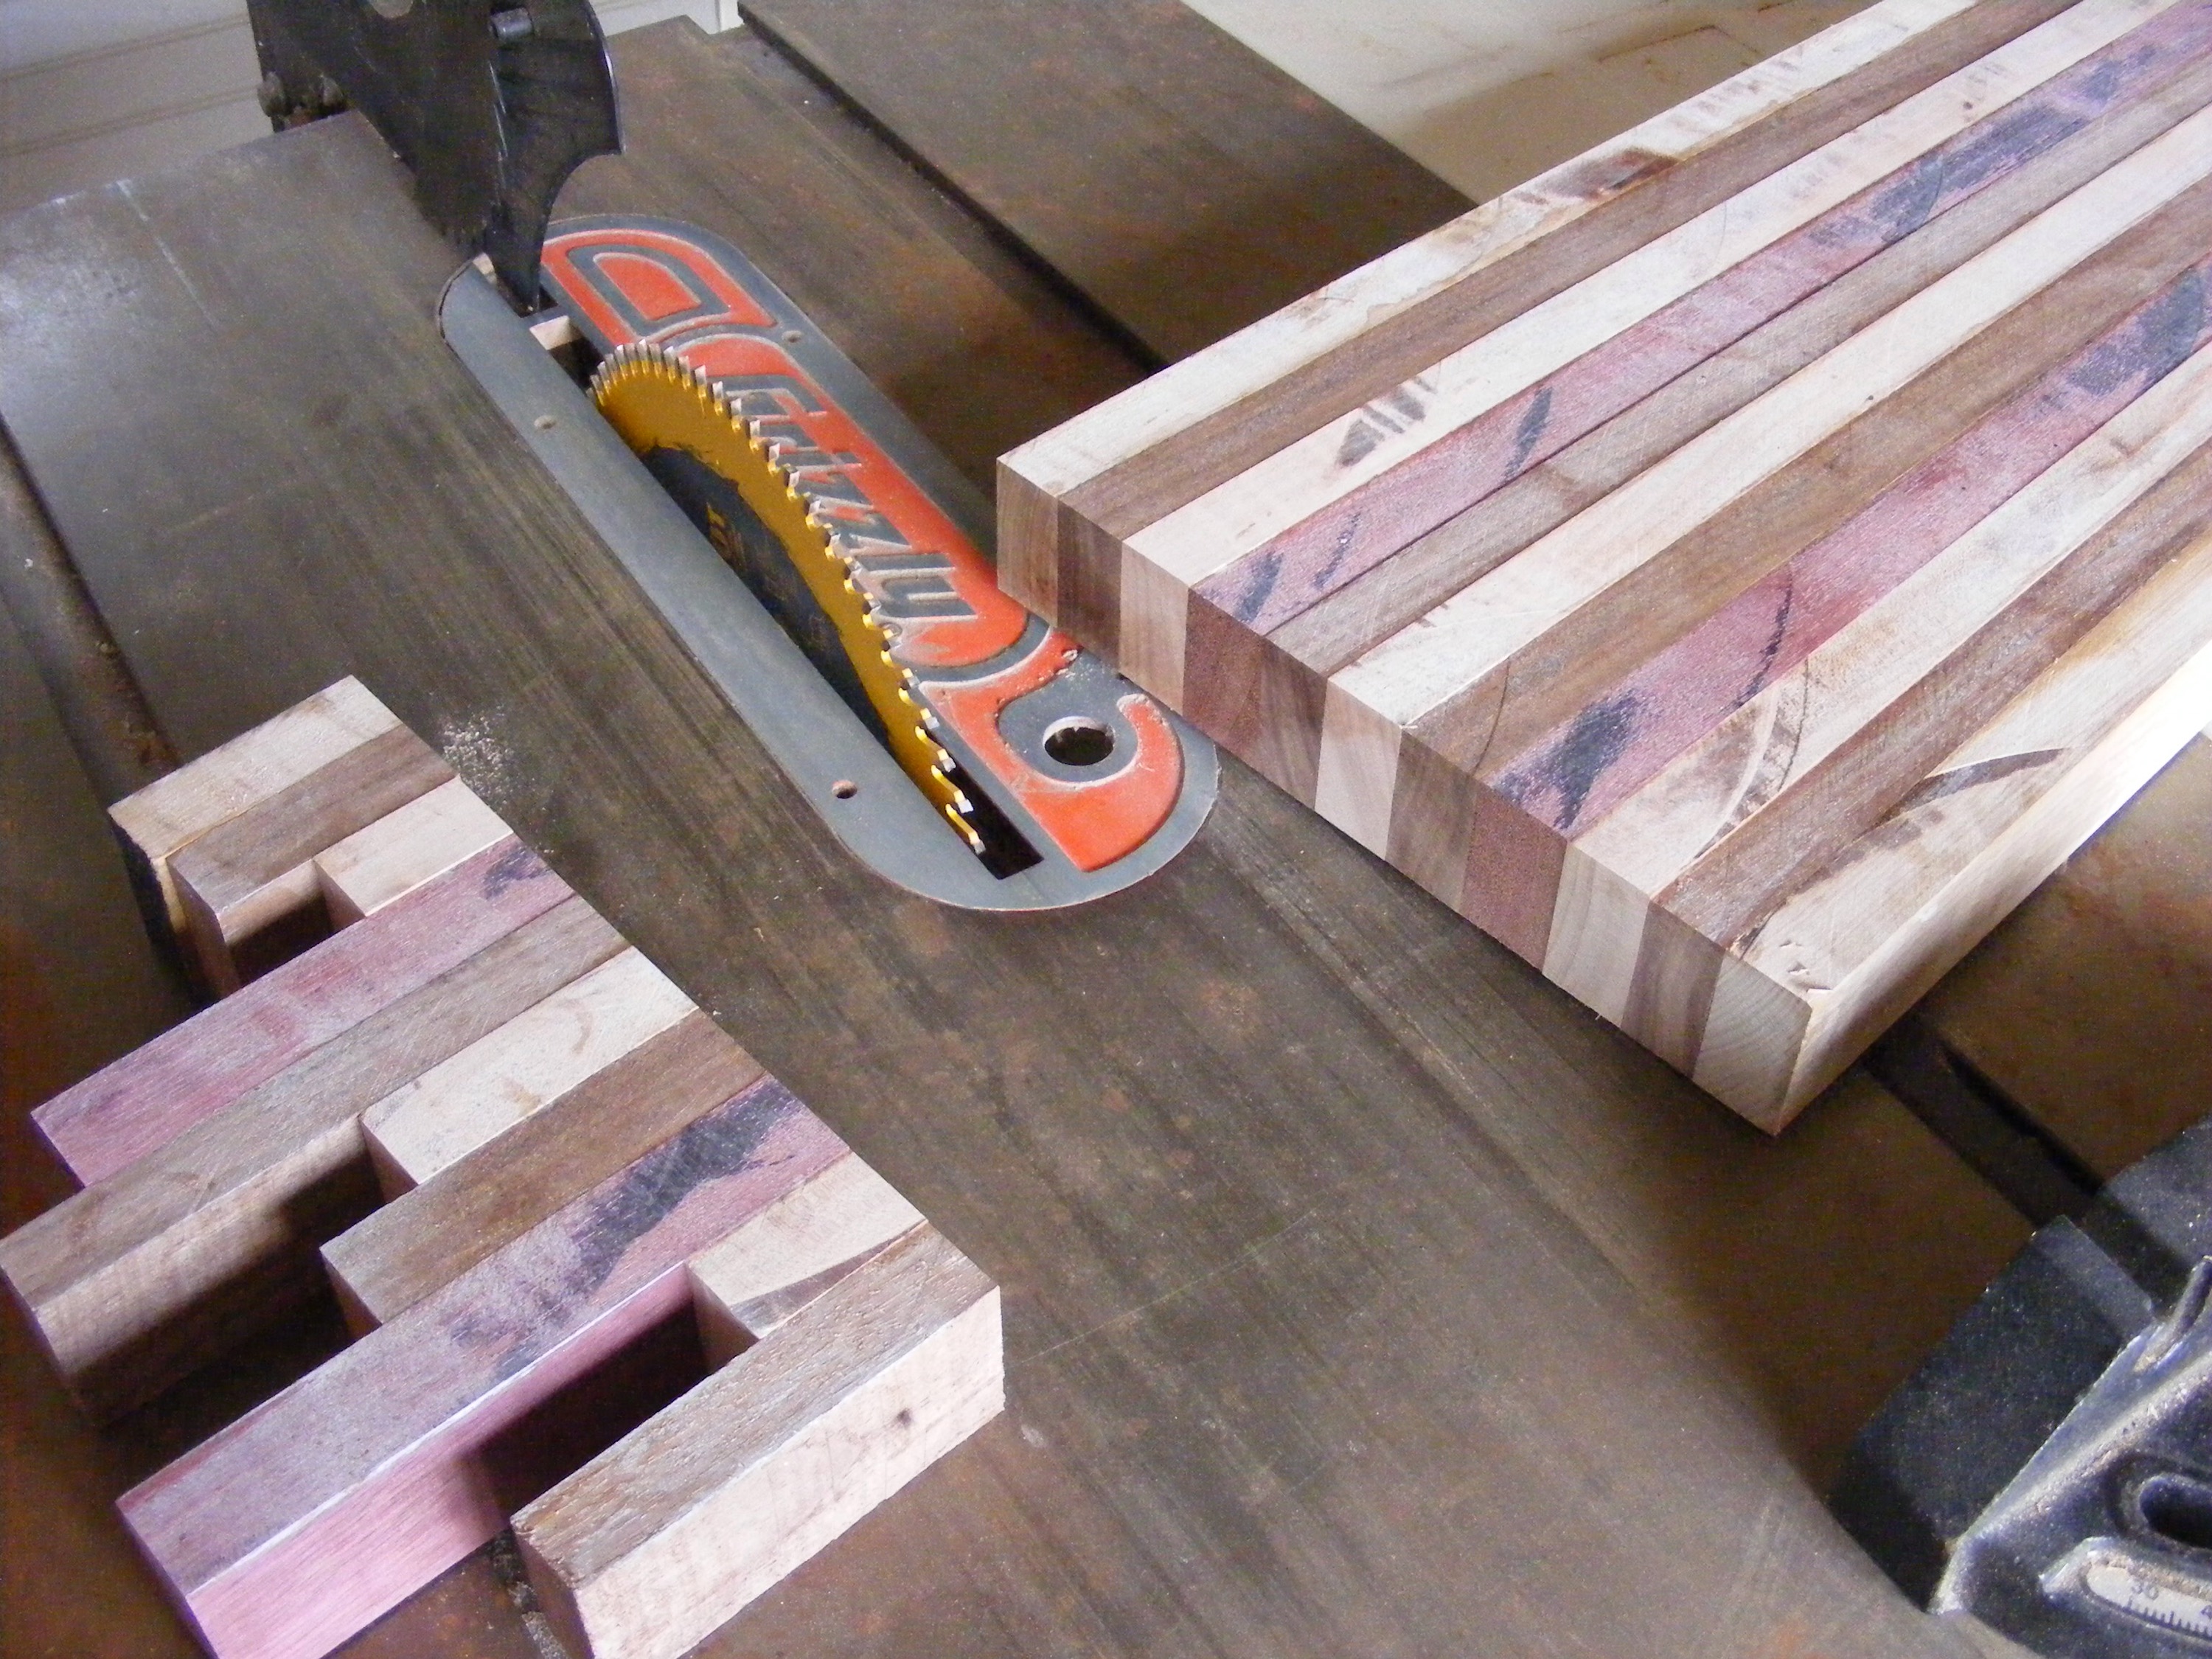
Step 3 – Cut your boards to the same dimensions, using the tablesaw. The cutting surface of my board is the side grain, and so I will glue the individual boards together face-to-face. I recommend using a planer if you have one or have access to one. I bought these hardwood boards from a local lumber company and they were already planed to a large extent. However, I don’t own a planer, so I used my Grizzly table saw to cut the boards and made them nearly the same dimensions. The sanding step will make everything even out.
Picture above shows me running each board through the saw to make them roughly 1.5 inches wide.
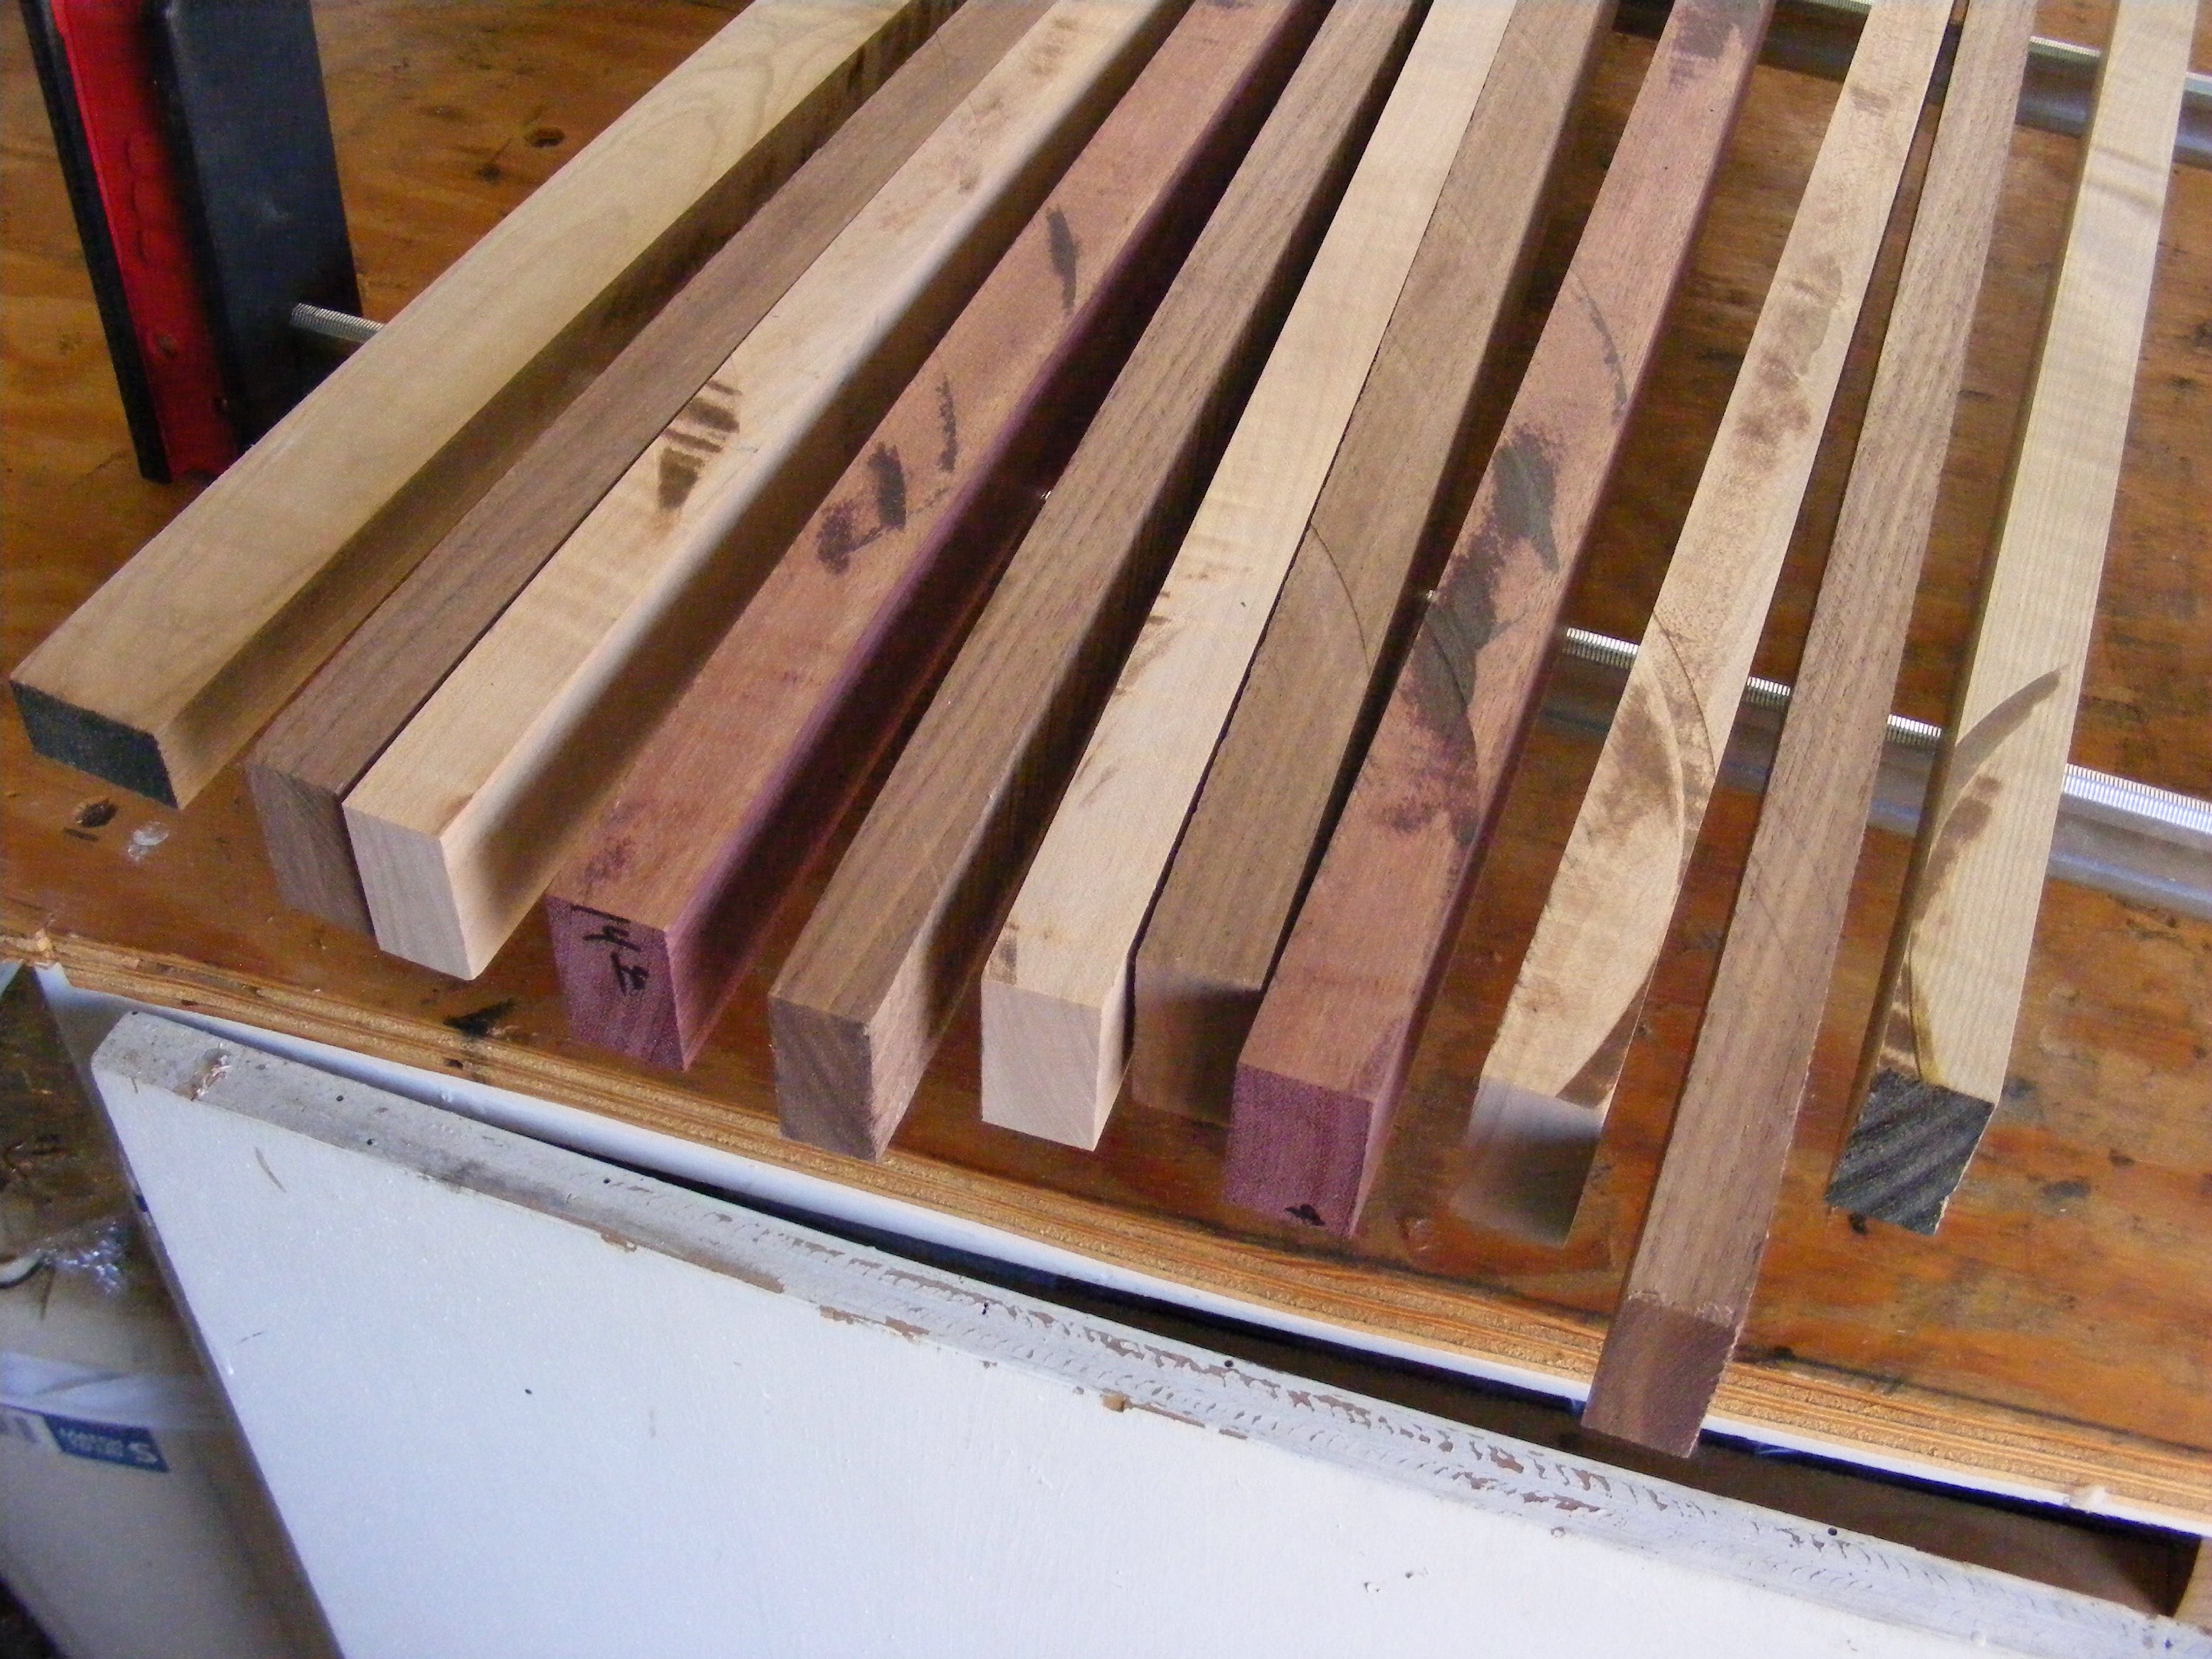
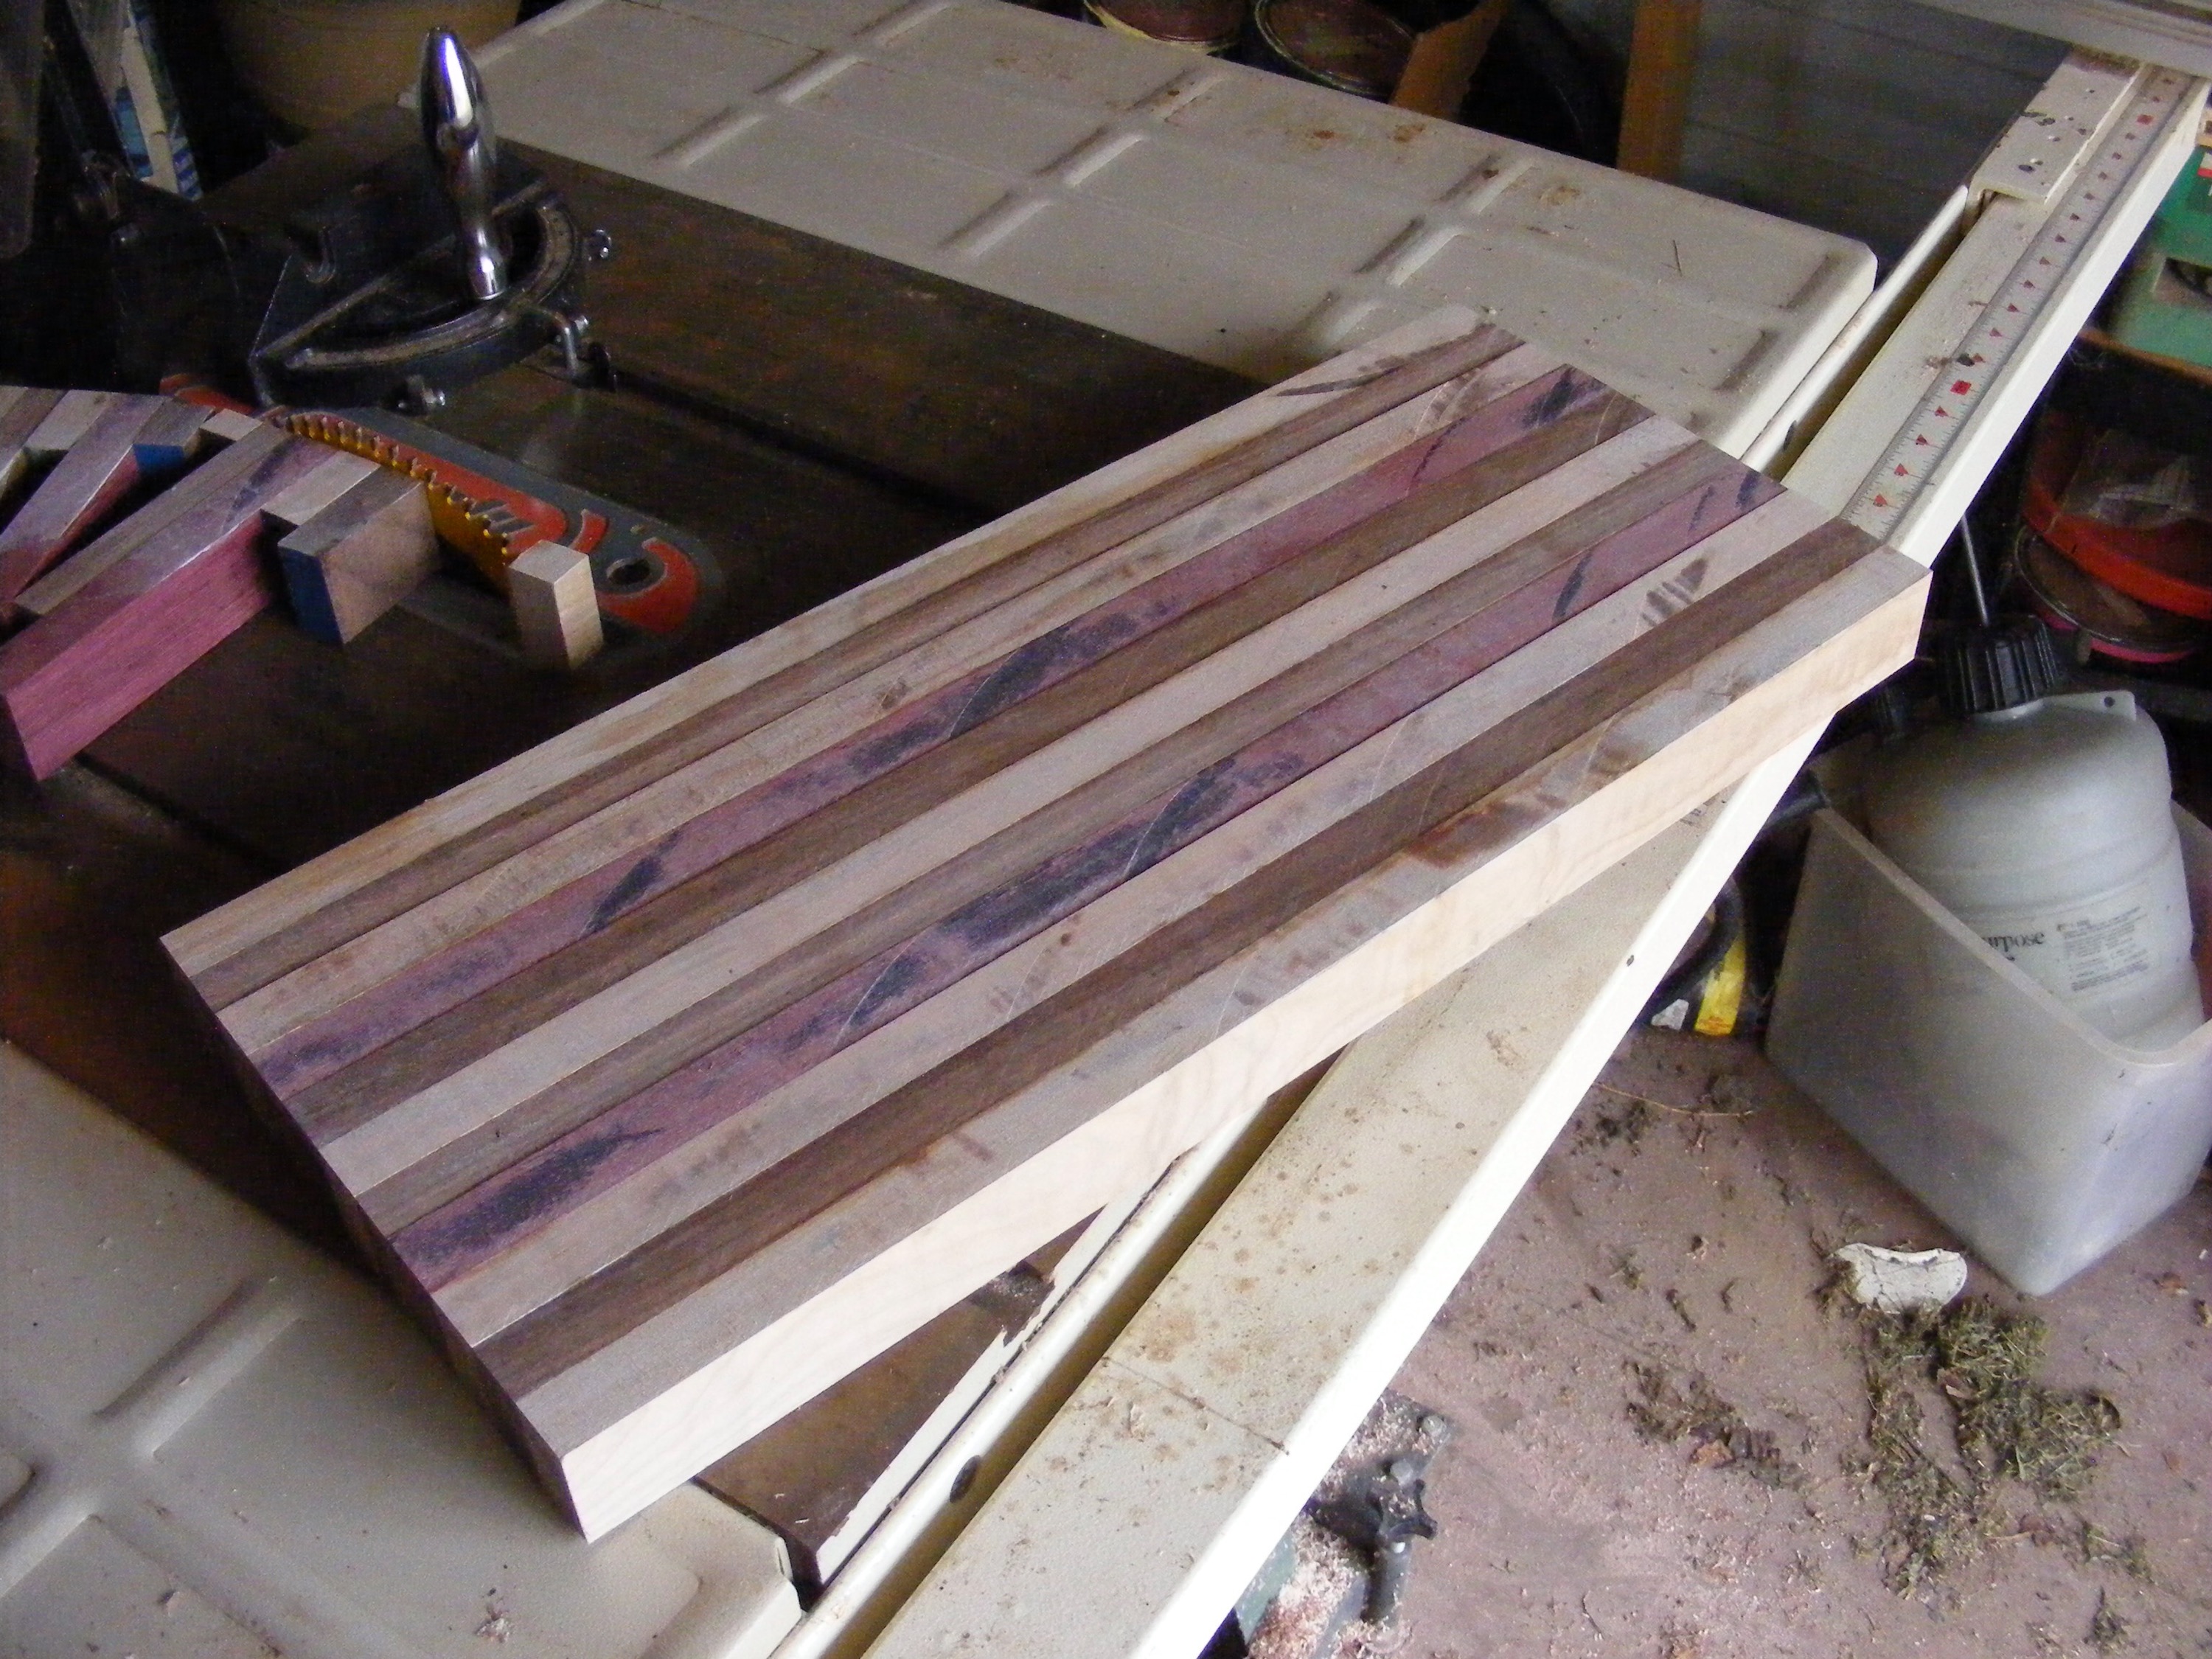
I alternated the maple and walnut boards and threw the purpleheart in a third of the way from each edge. You may want a different order—it’s totally up to you. Note that my board’s length dimensions were all different. Before glueing, I positioned them to get the maximum size cutting board as was practical. Fortunately for me, I turn writing pens, so I can put the scrap pieces to good use.
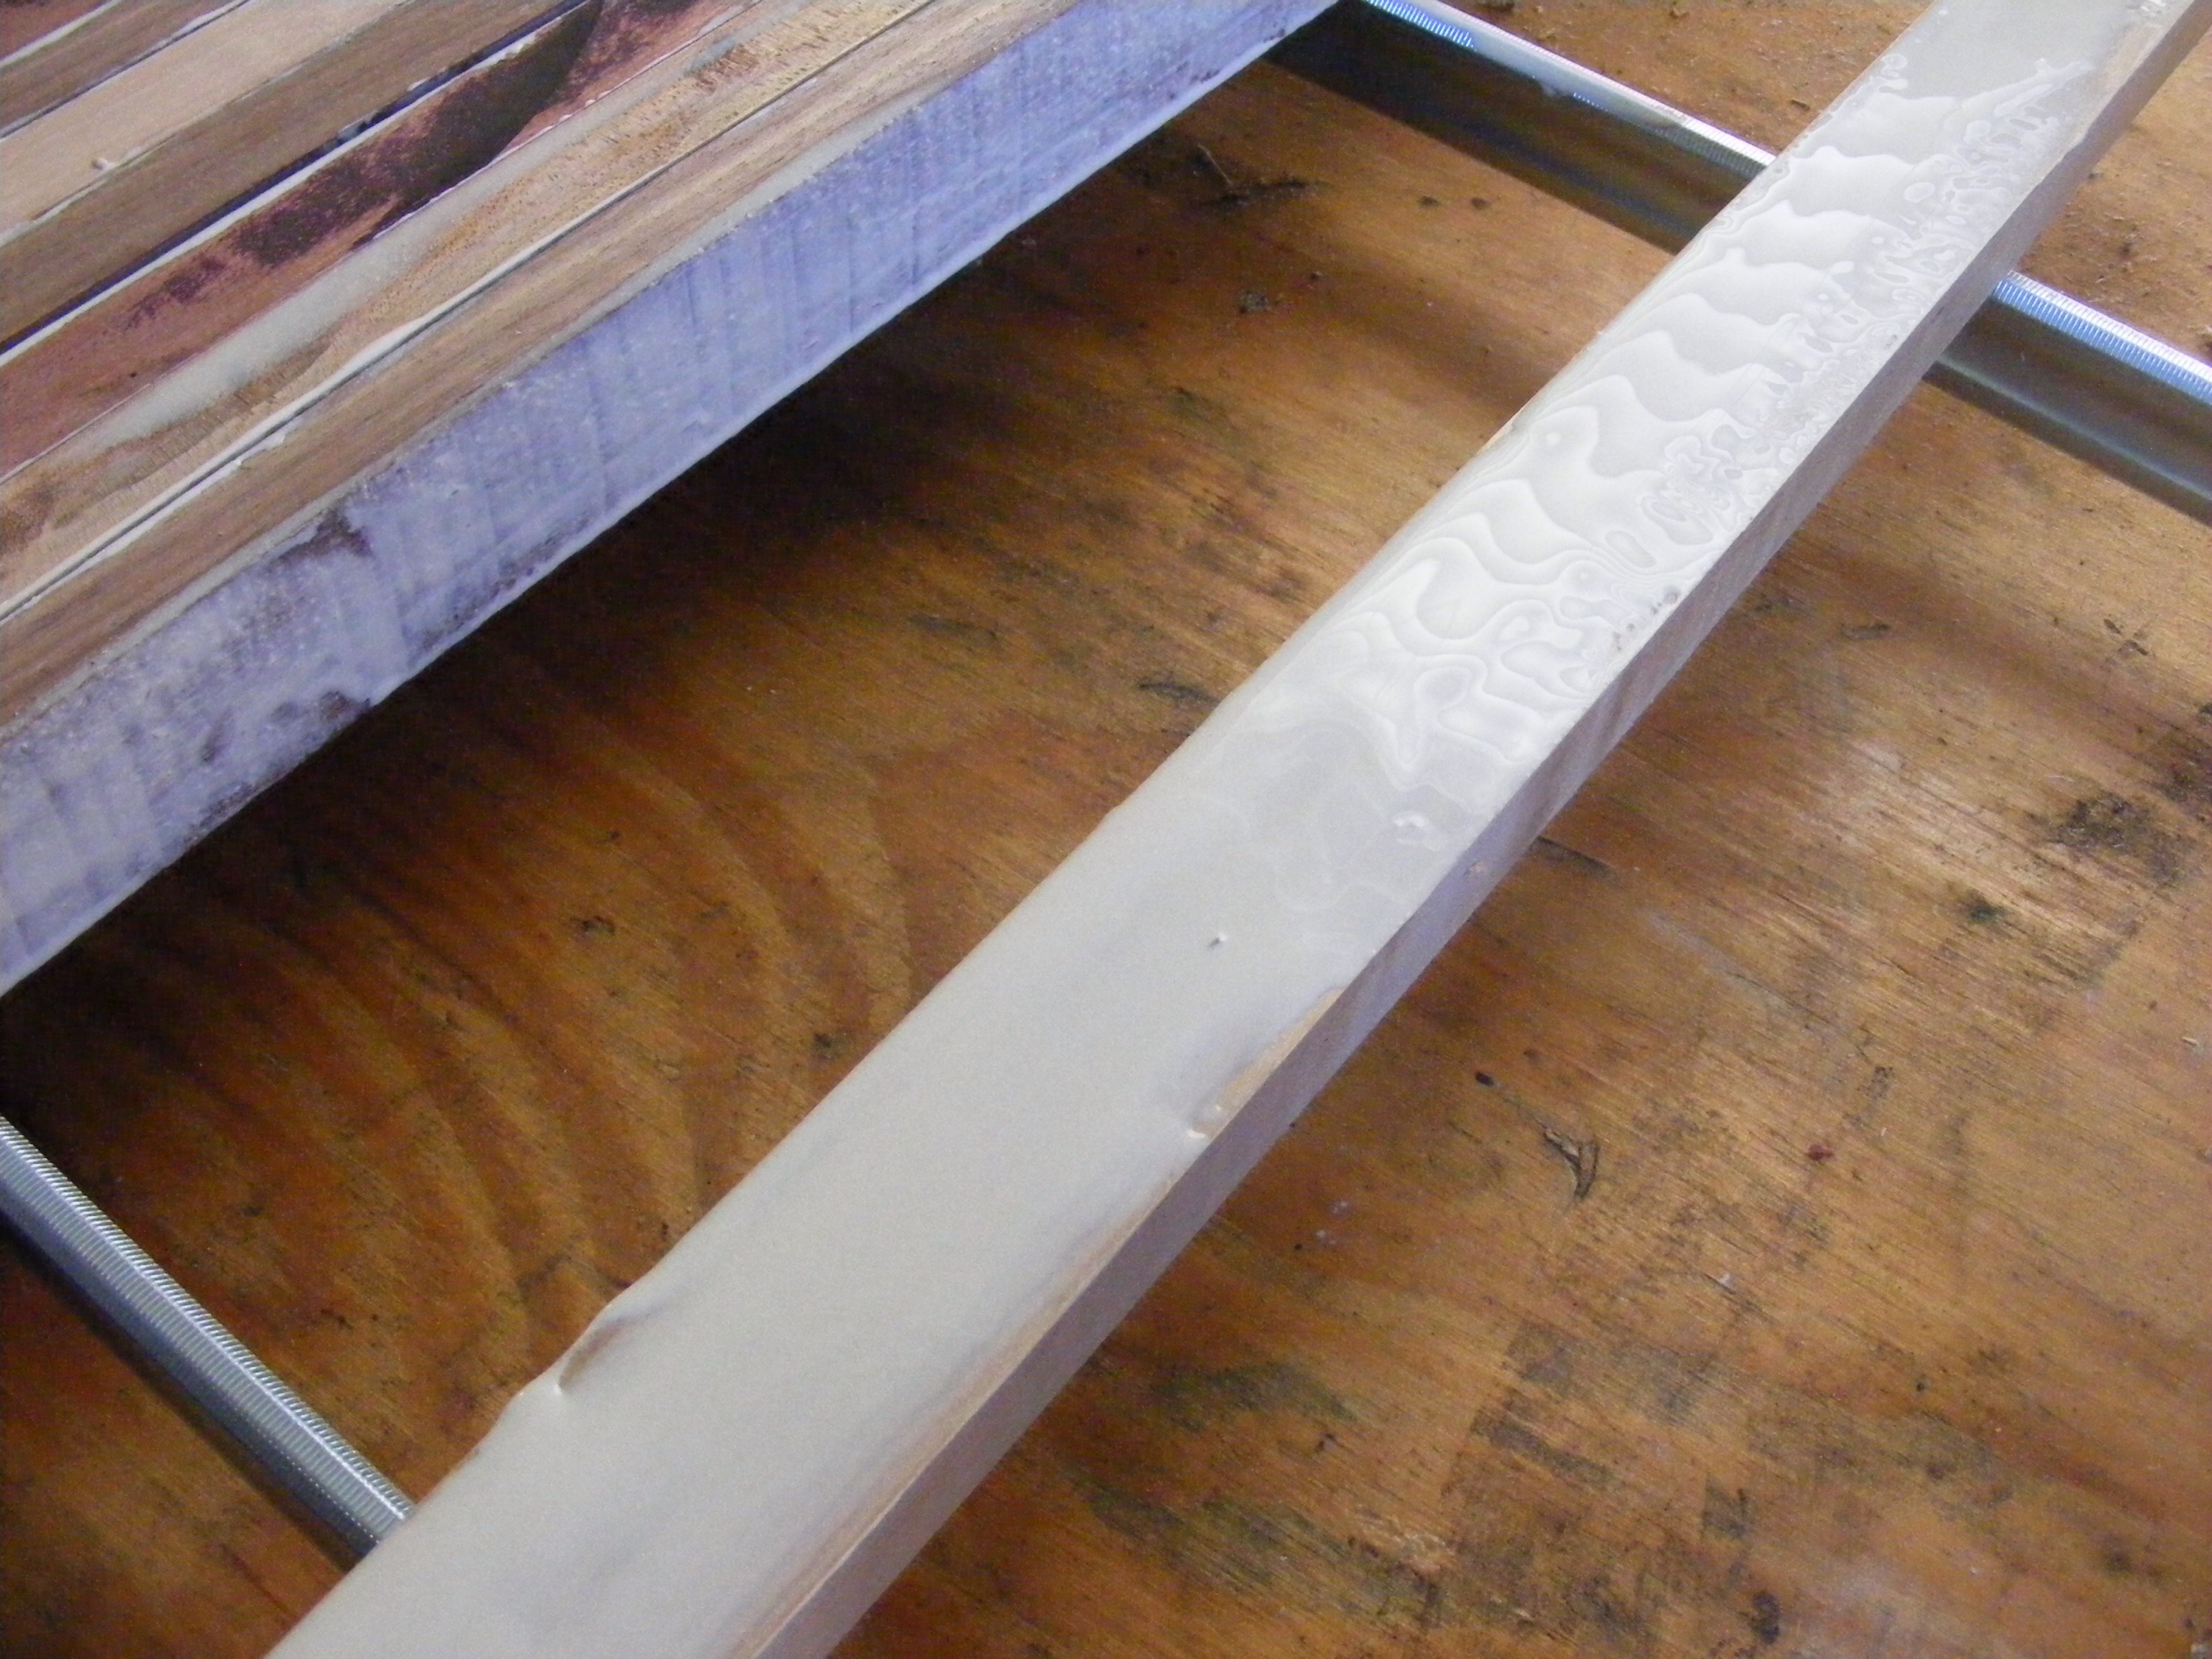
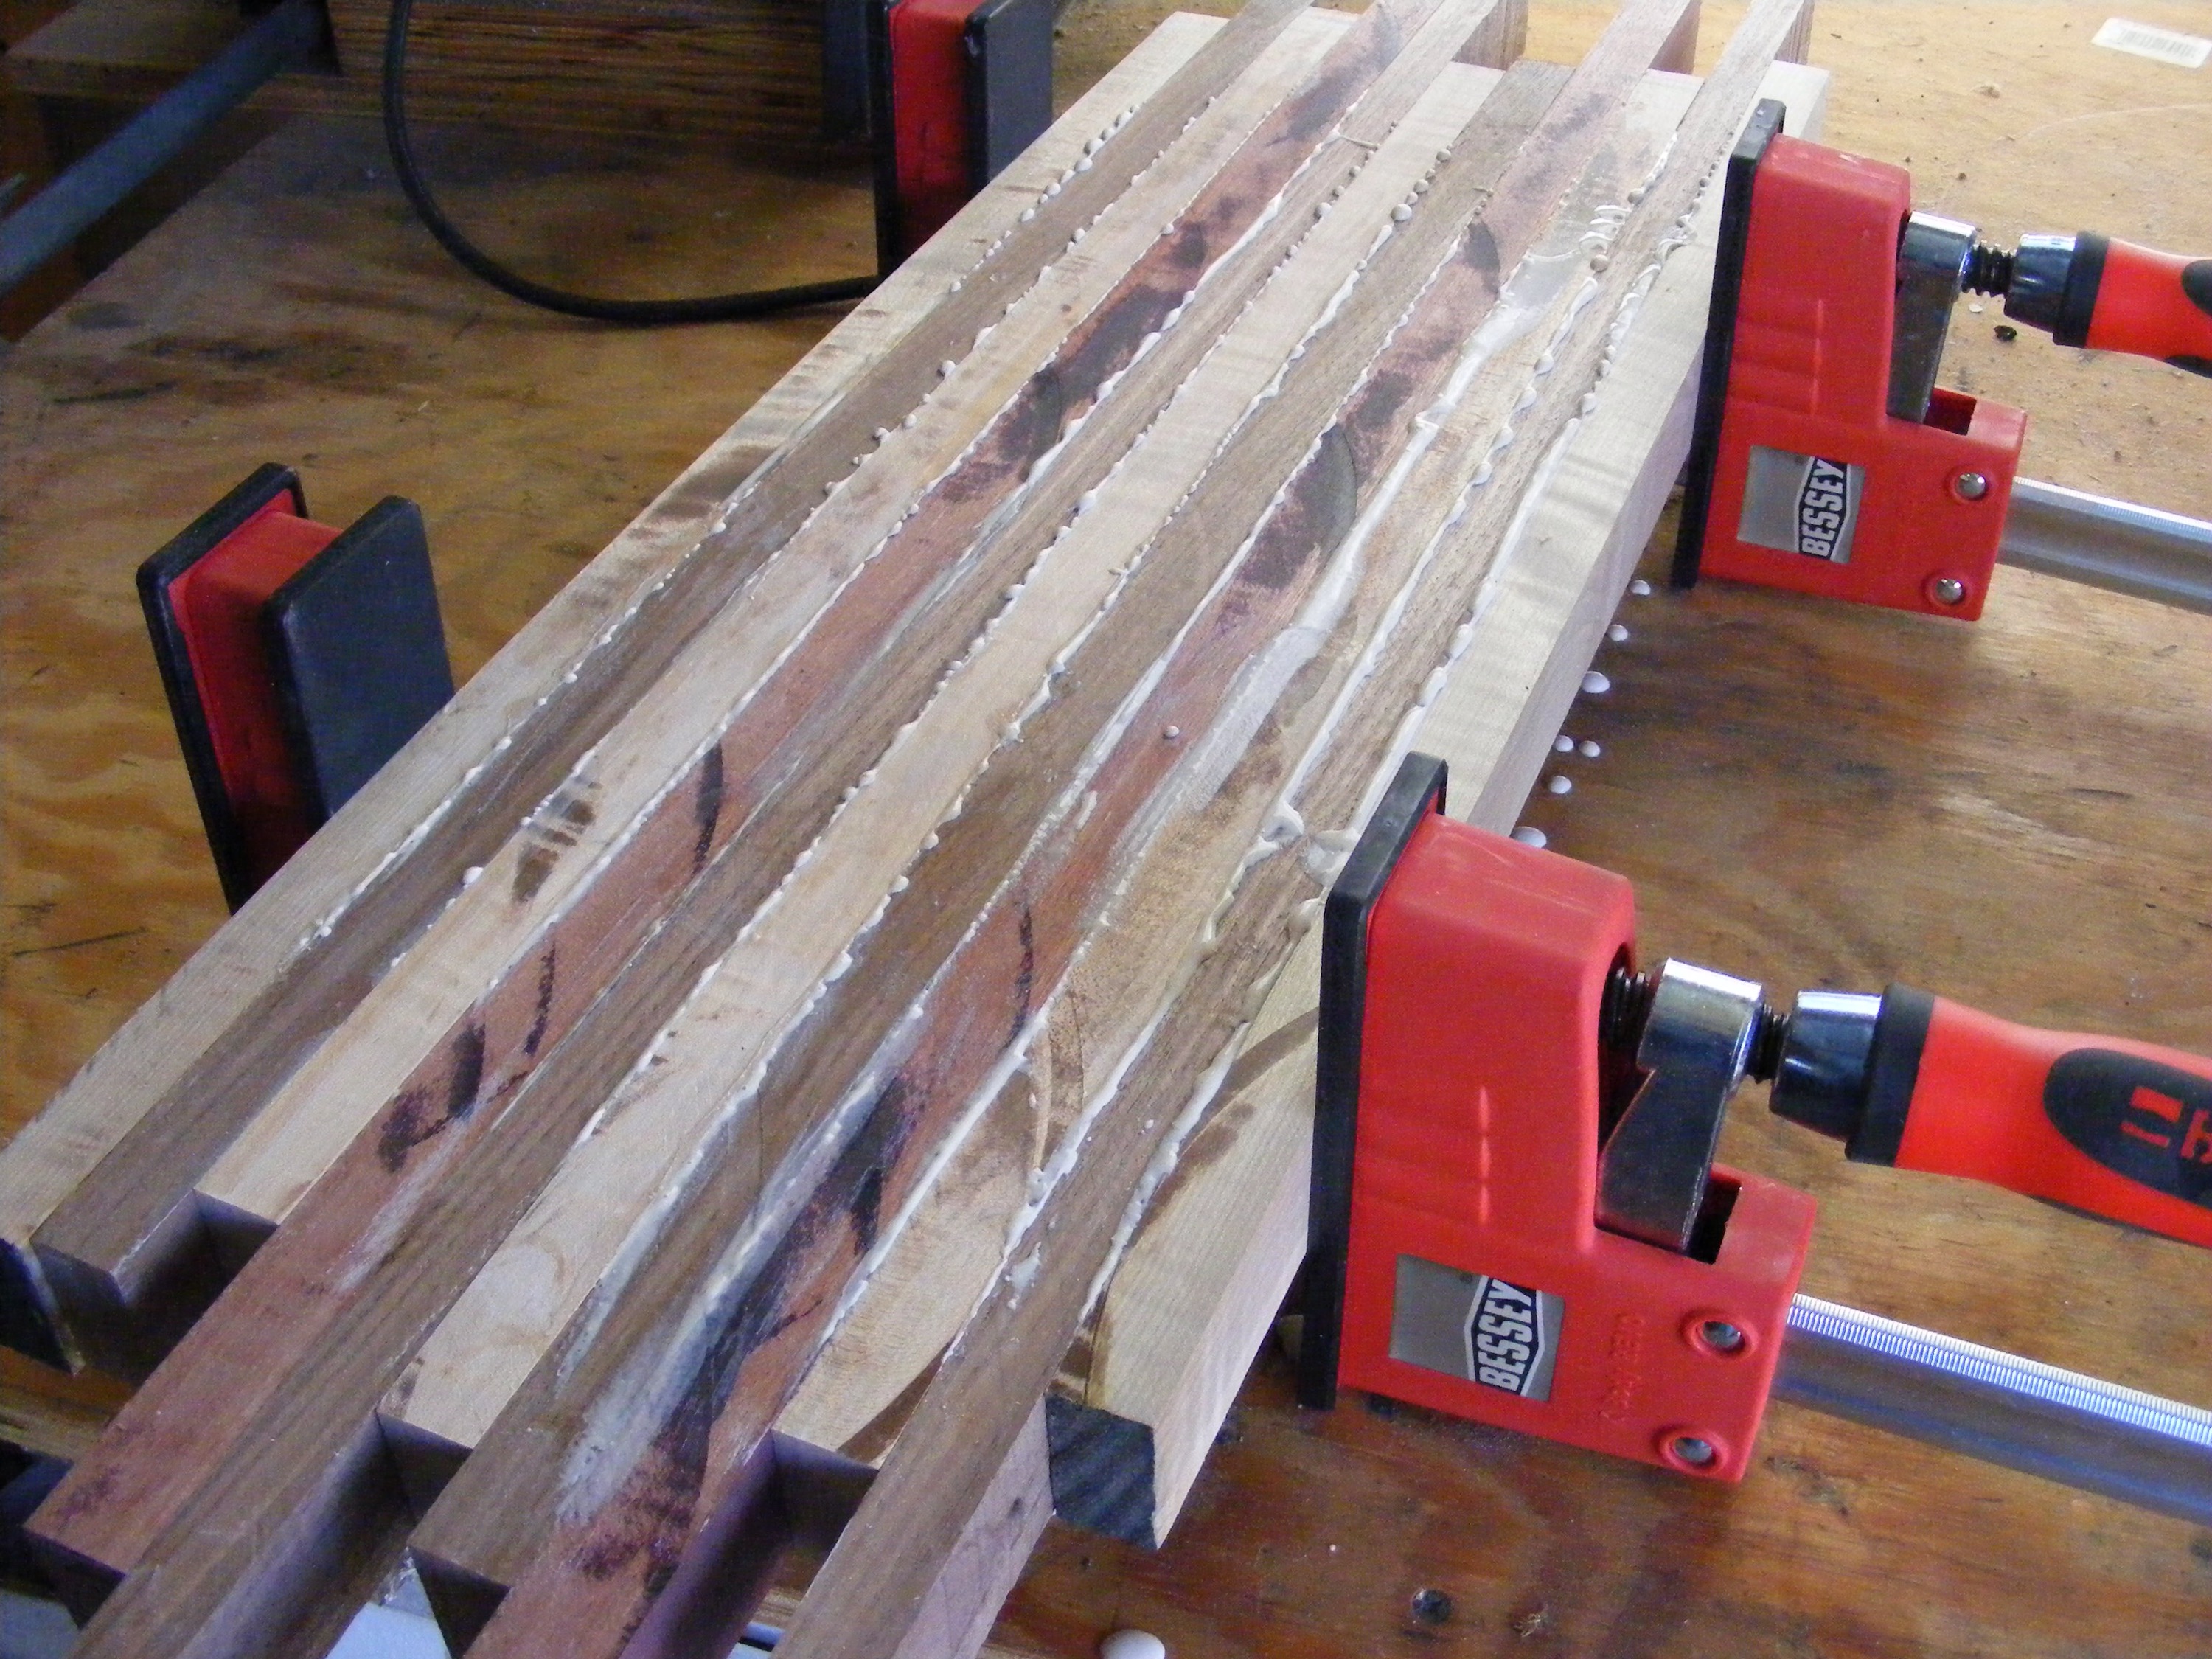
I used Titebond III because it’s waterproof. Using a small paint brush, I applied the glue evenly across the face of each board being bonded together. You might want to wear some nitrile gloves and have a damp towel on hand. The glue takes a while to set up, but I used the damp towel to wipe away the excess from the boards and from my workbench.
Clamp the boards tight. Be careful not to mar the outside surface of cutting board with the clamps. Glue will ooze out everywhere which is what you want. It means you did a good job of applying it. If the glue is not evenly spread on the face of your boards, you run the risk of leaving a few gaps between boards. Yes, they will be small, but they are noticeable when the cutting board is sanded and finished..
Here is another lesson I learned: put down some painter’s tape or parchment paper on the clamps, so your wood doesn’t bond with the clamps. Not doing this could create a few complications later on.
Step 6 – Allow the glue to dry overnight. Once dry, release the boards from the clamps. Take a knife or chisel and carefully remove excess glue that you may not have removed earlier with the damp cloth. Be careful not to mar or gouge the wood with the chisel.

After cutting, doublecheck squareness with a t-square. I only needed to cut off the uneven ends and my board was perfectly square.
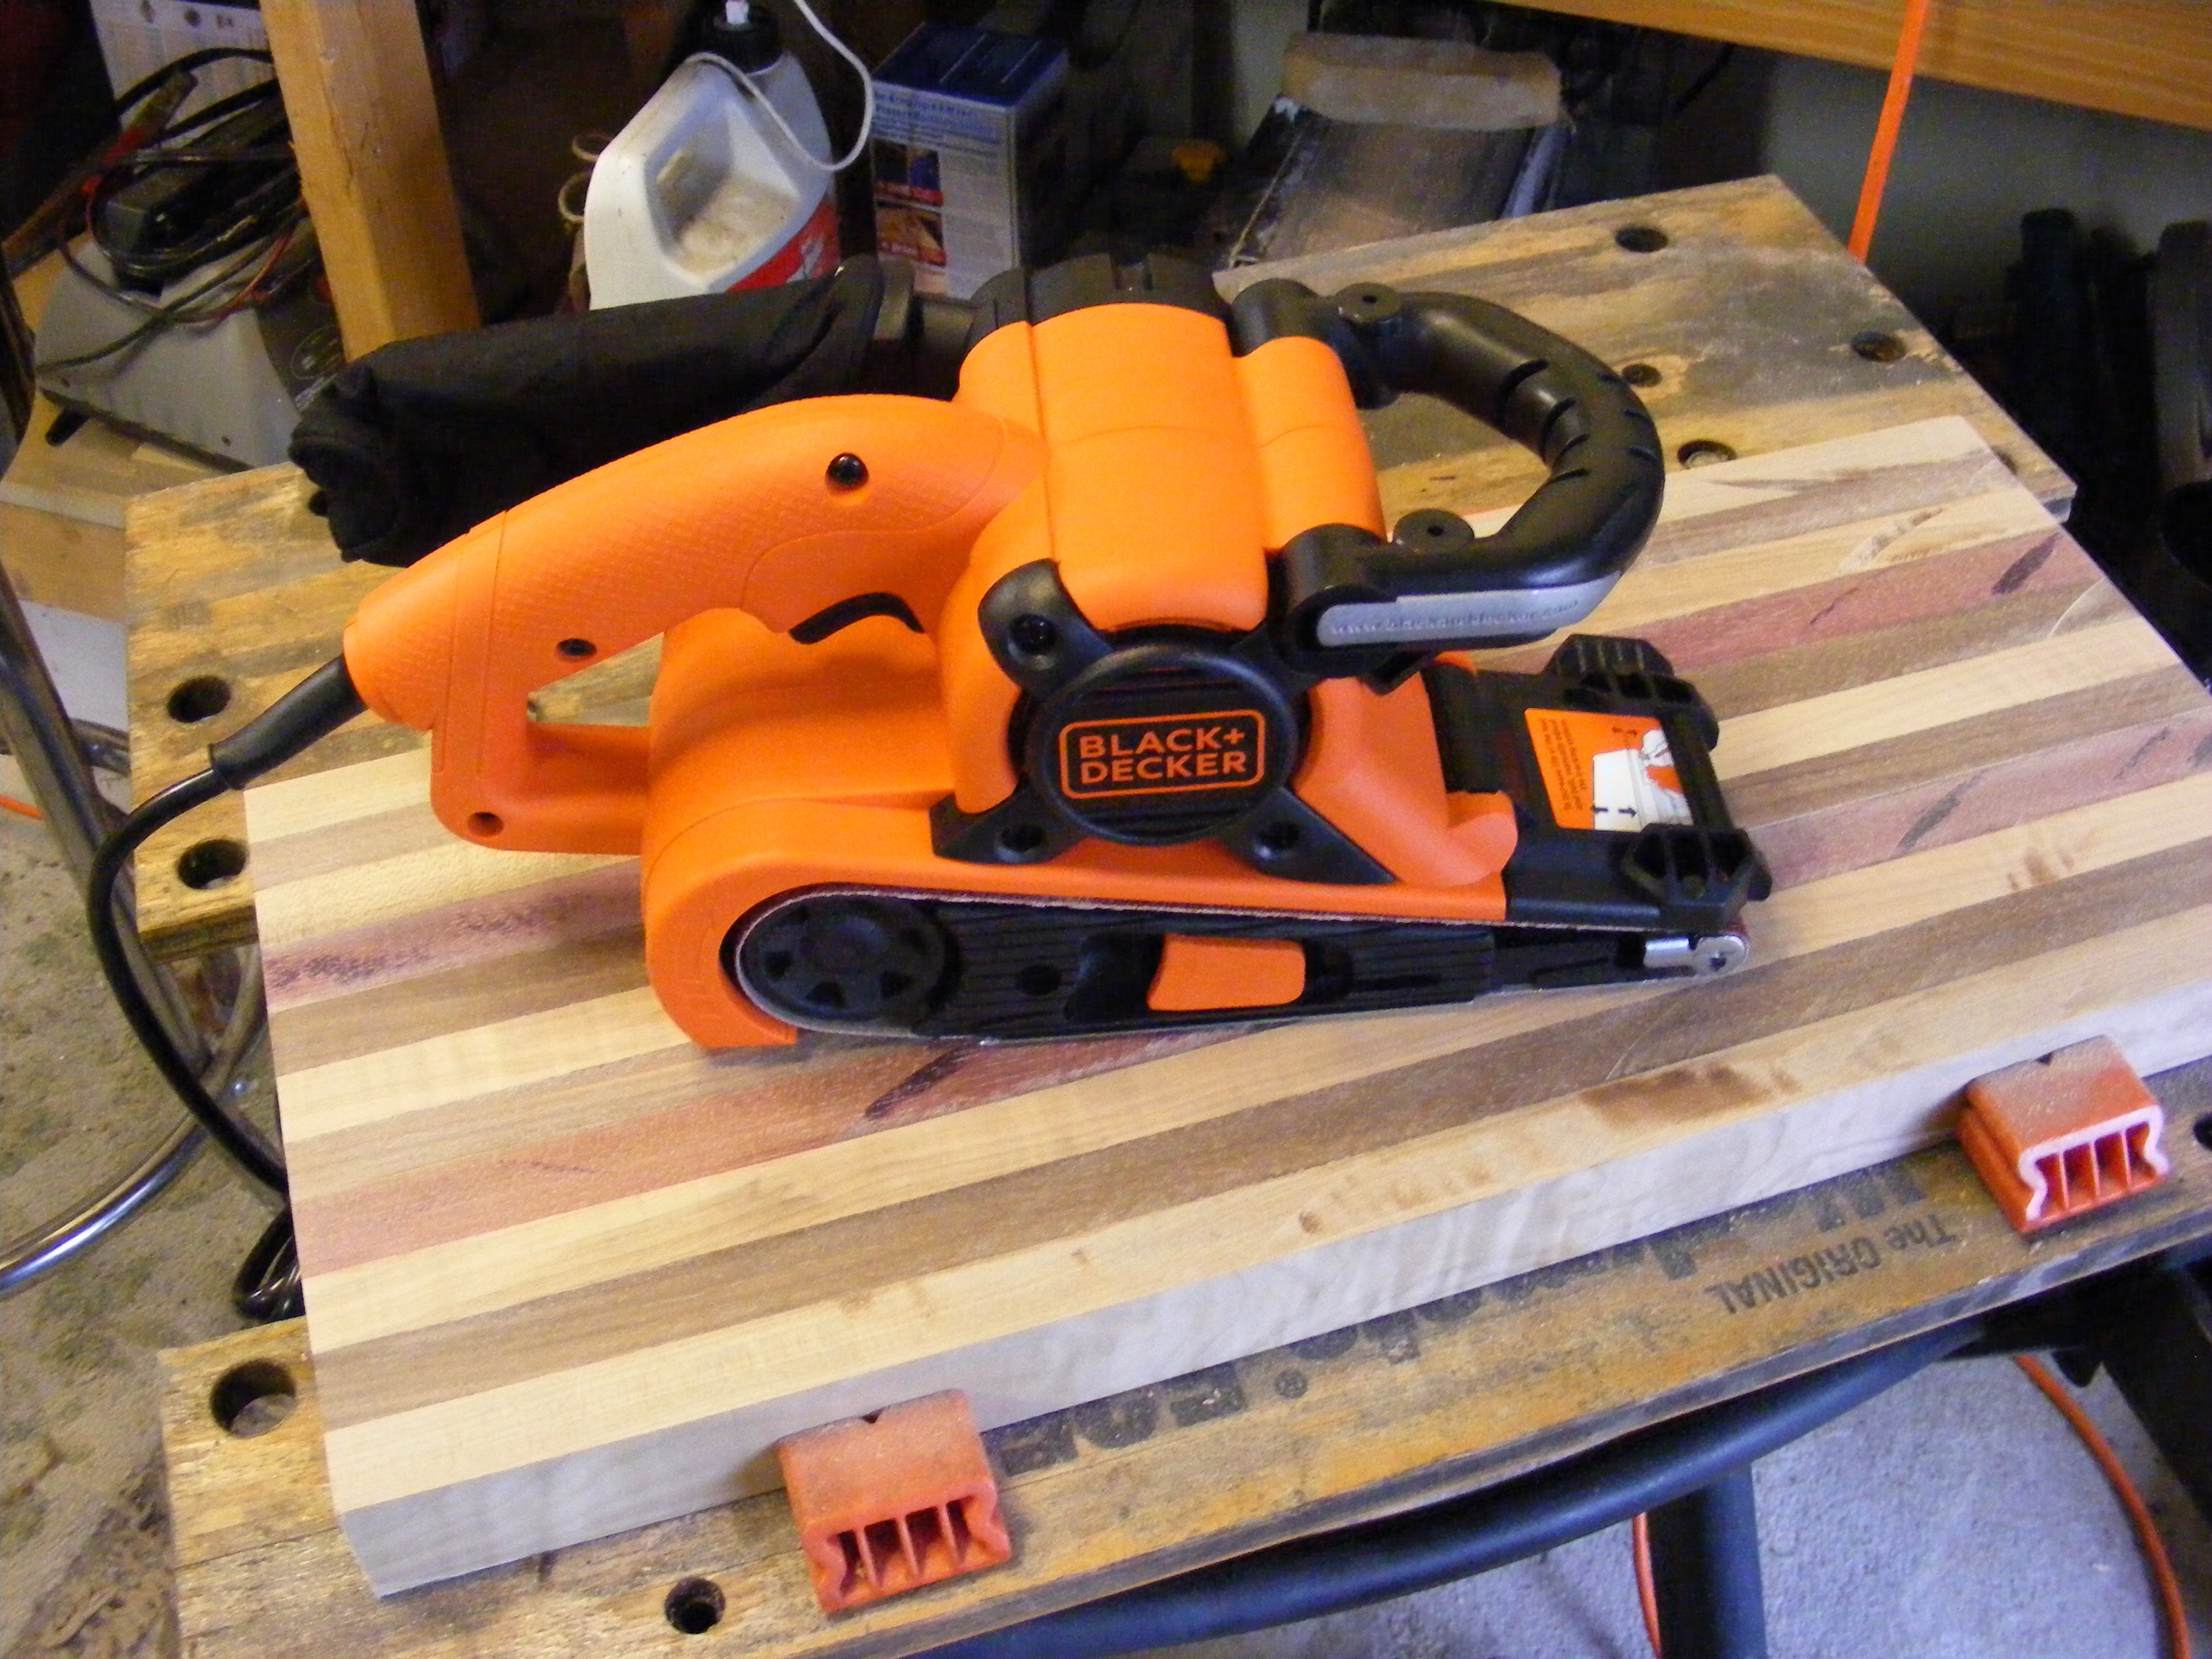
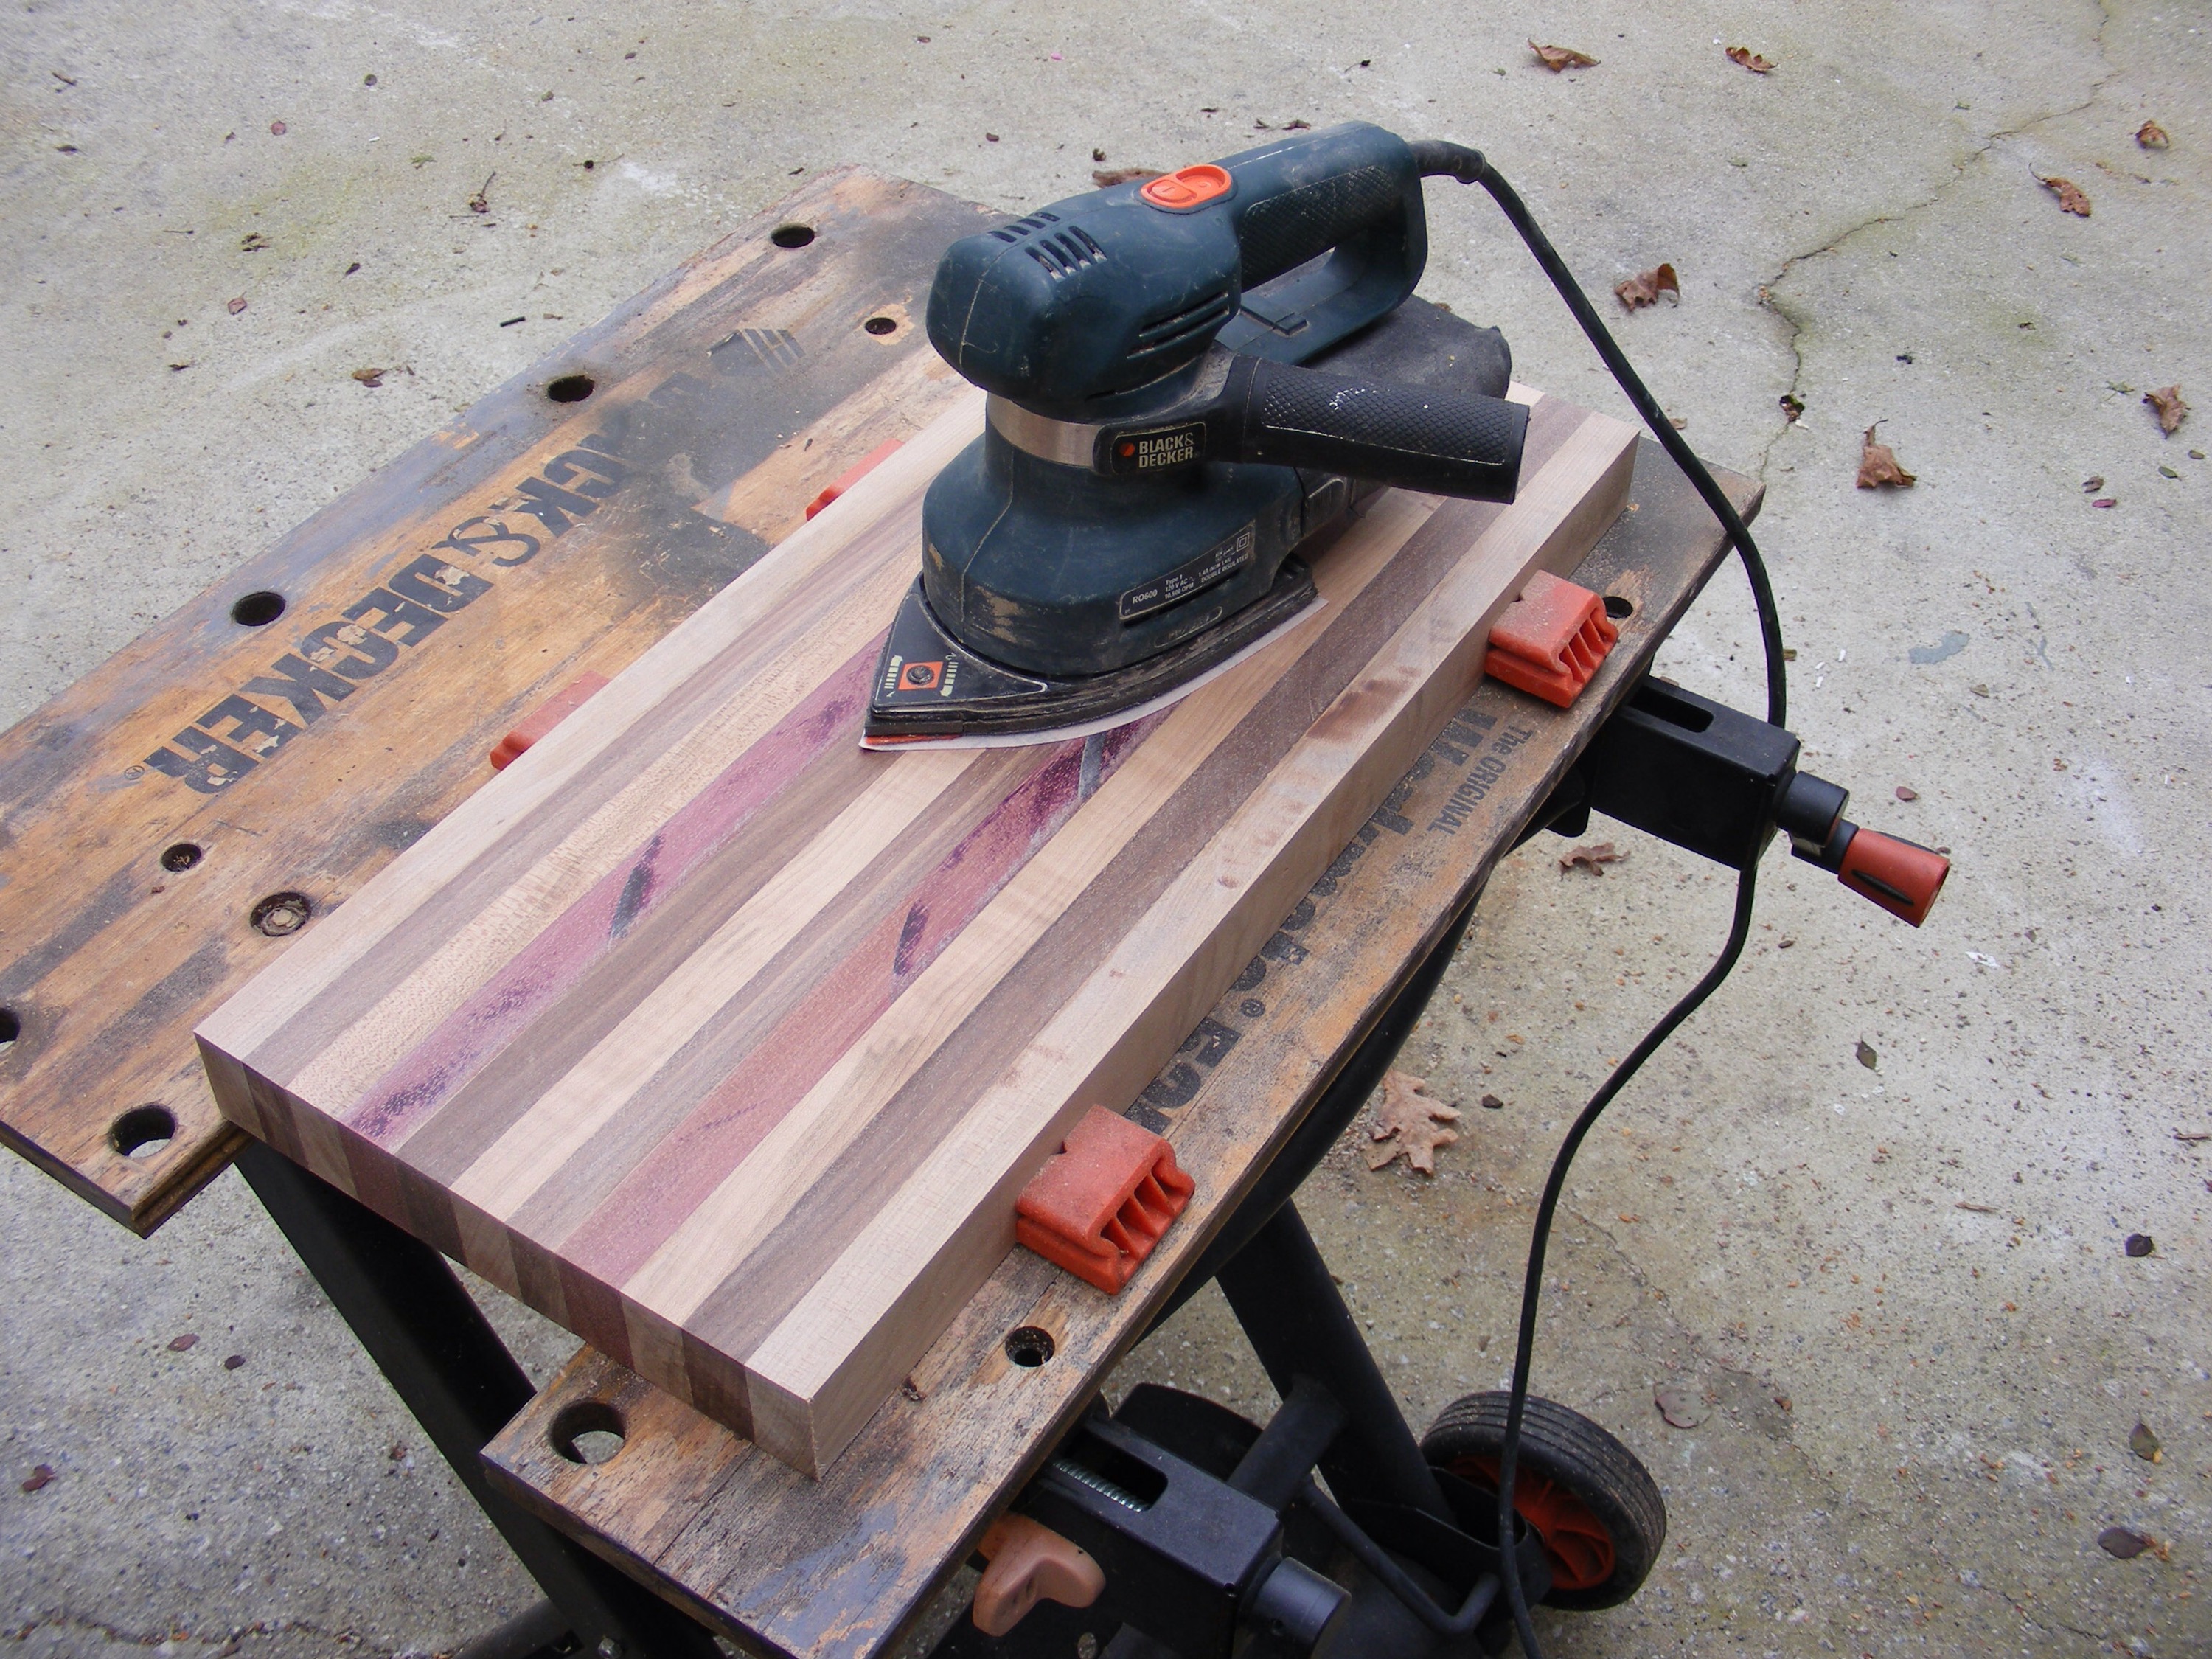
Step 8 – Sand your cutting board. This was probably the most time-consuming step for me. I started out sanding with my orbital sander and soon realized I needed something more powerful. So, I bought a $50 Black and Decker portable belt sander (Remember–I don’t own a planer). The 80 grit belt sander quickly brought the board’s surface to a flat, even level. Then, using a sanding block and 120 grit sandpaper, I hand sanded it for several minutes. Next, I went to 220 grit on the orbital sander.
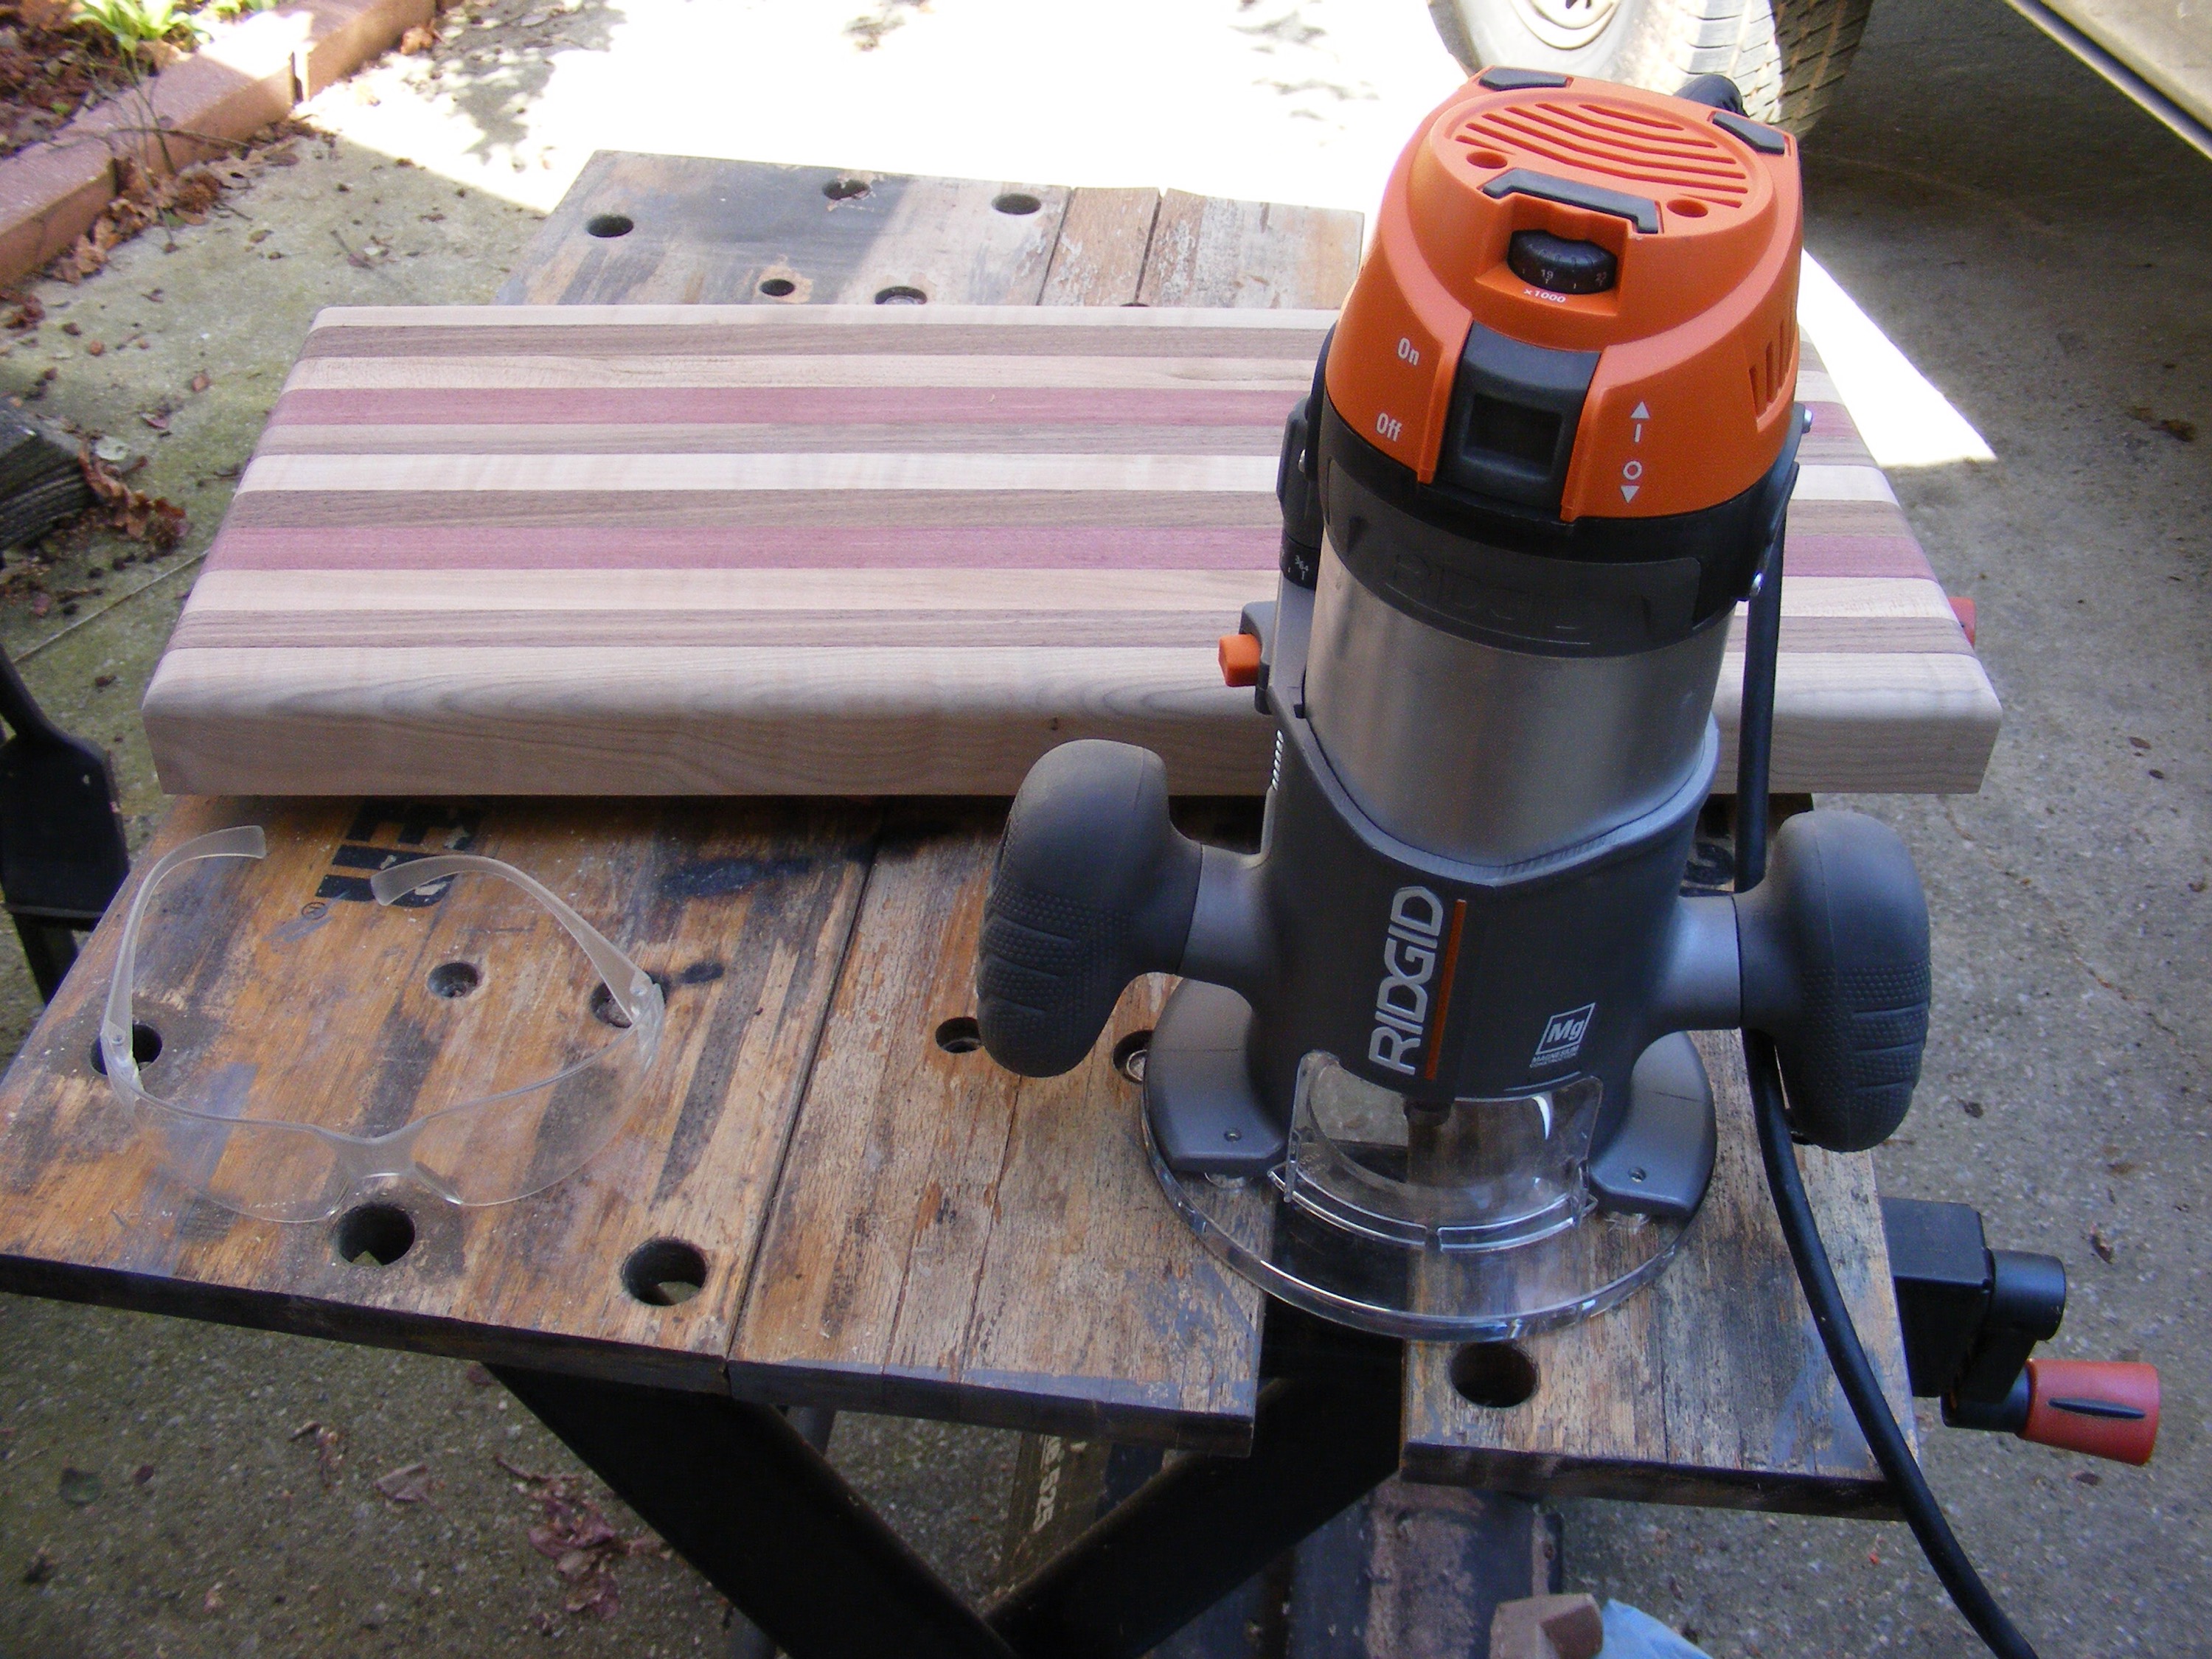
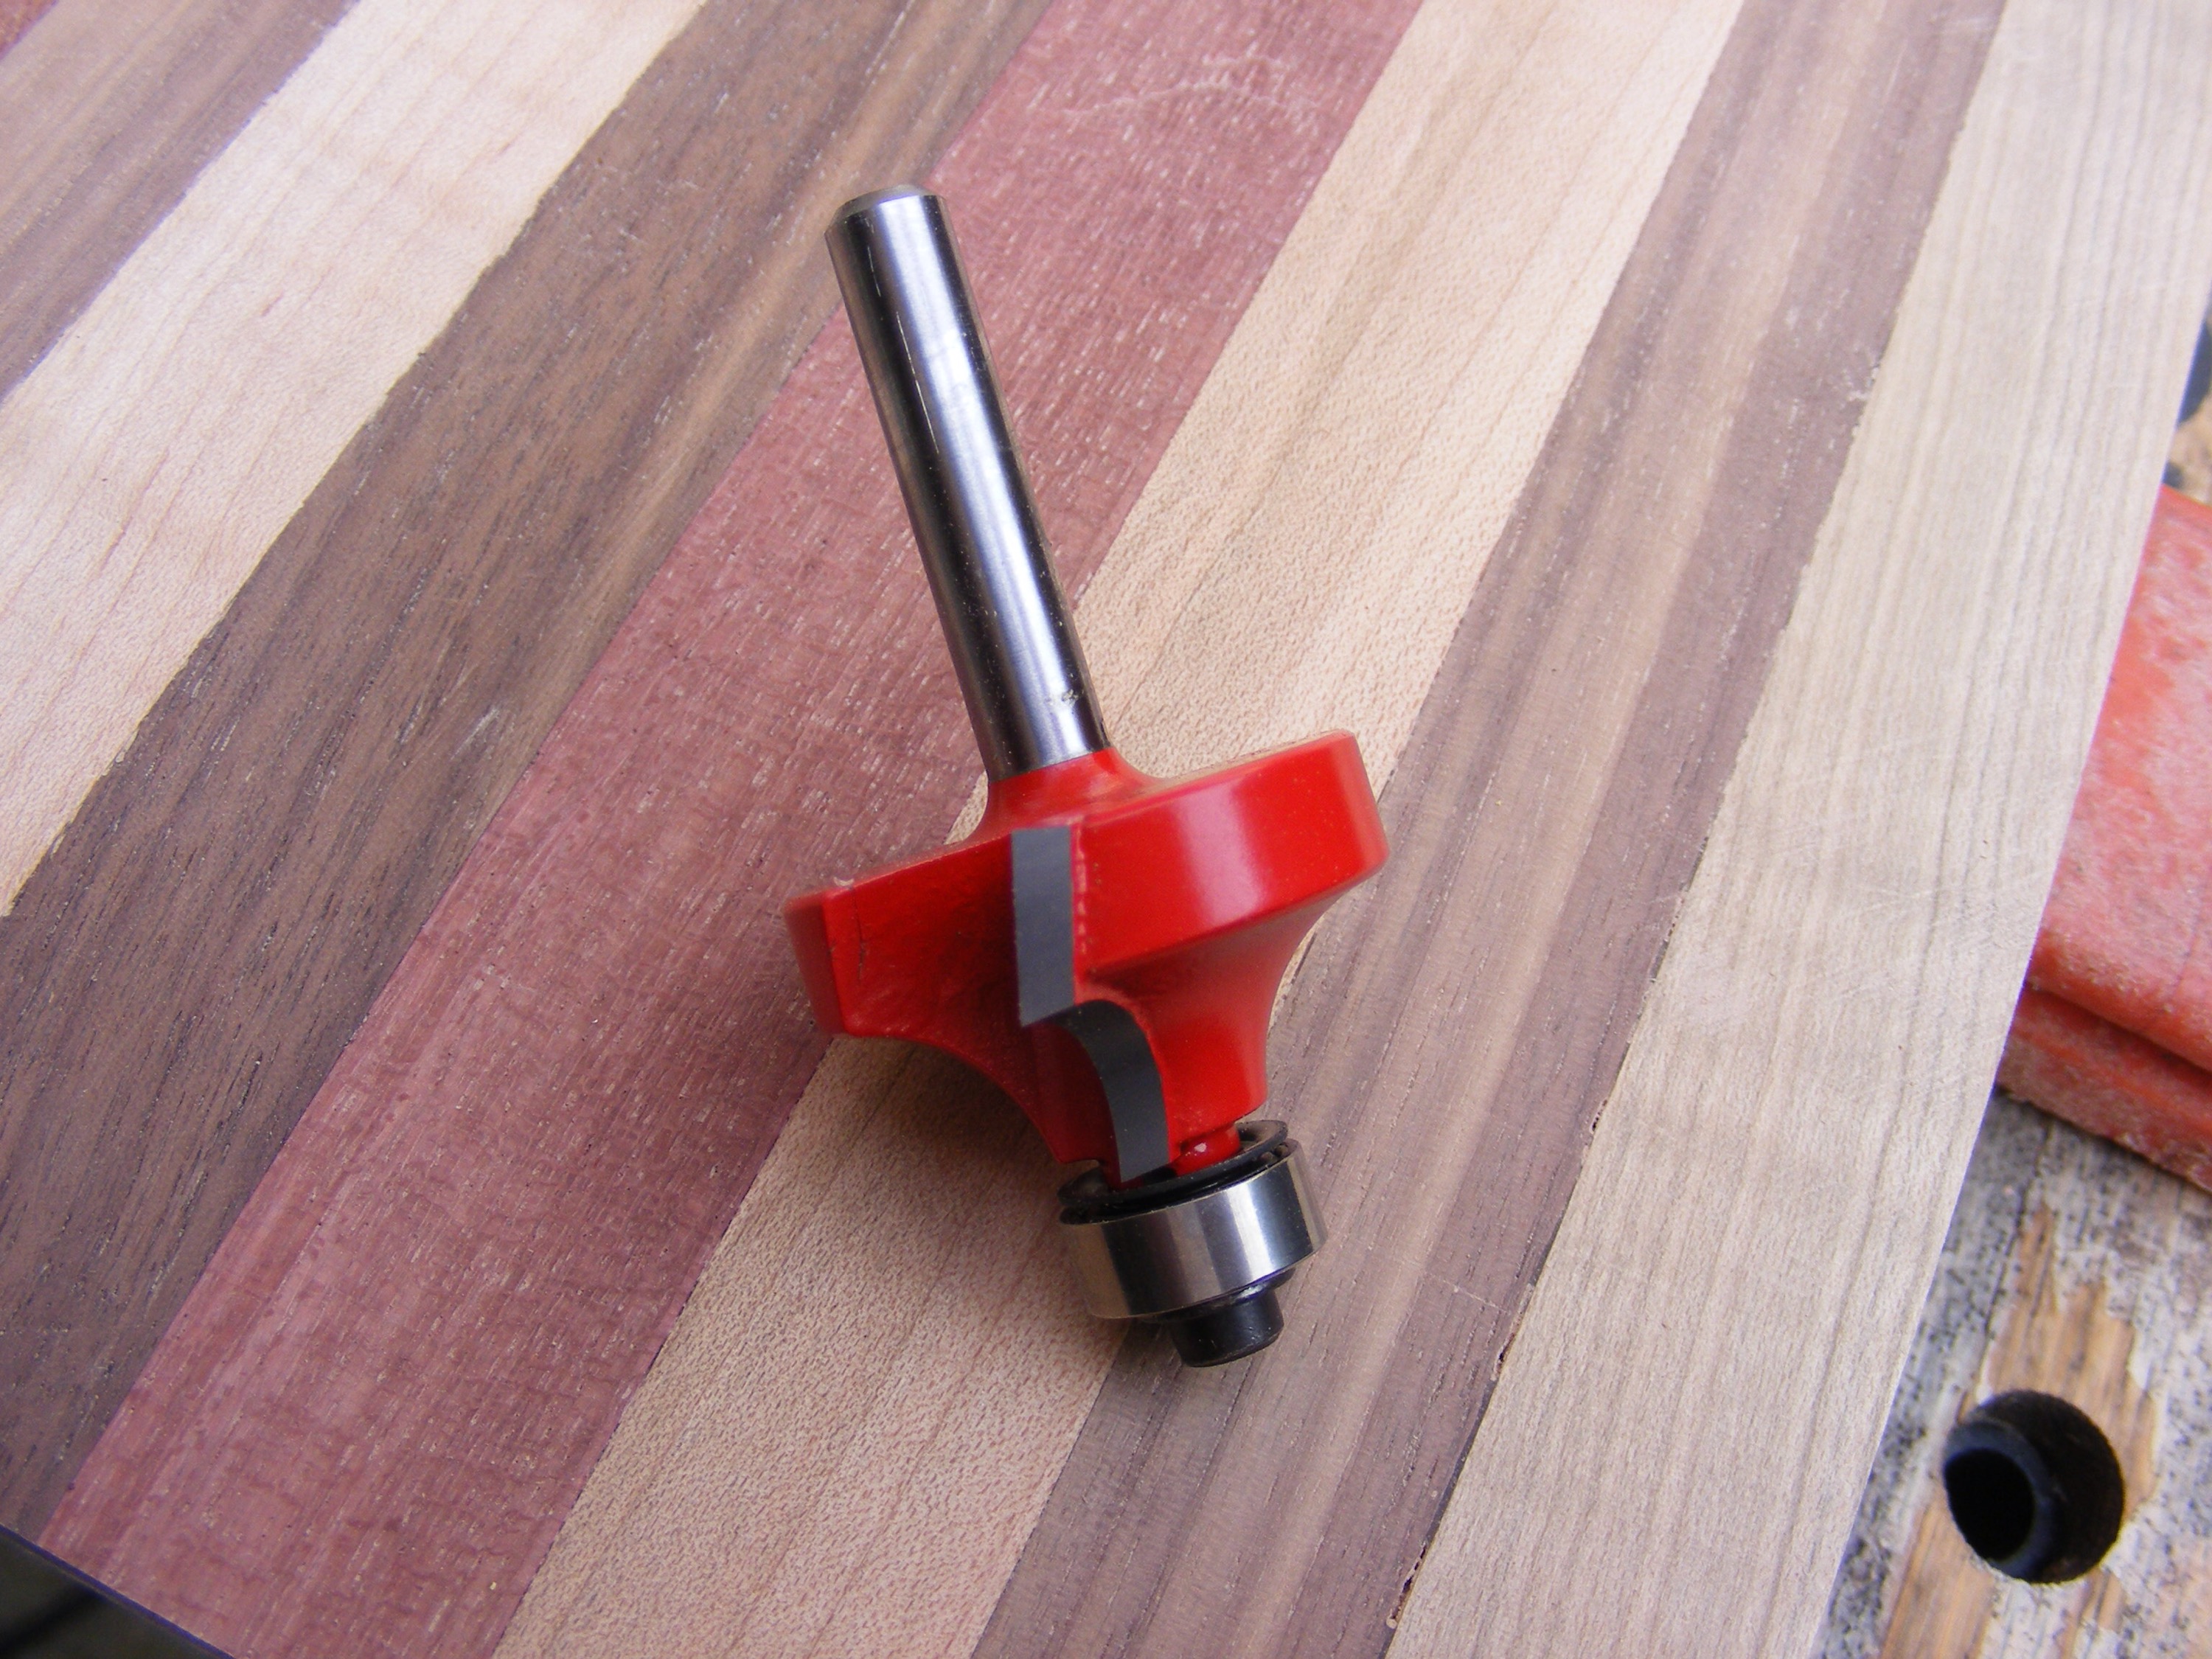
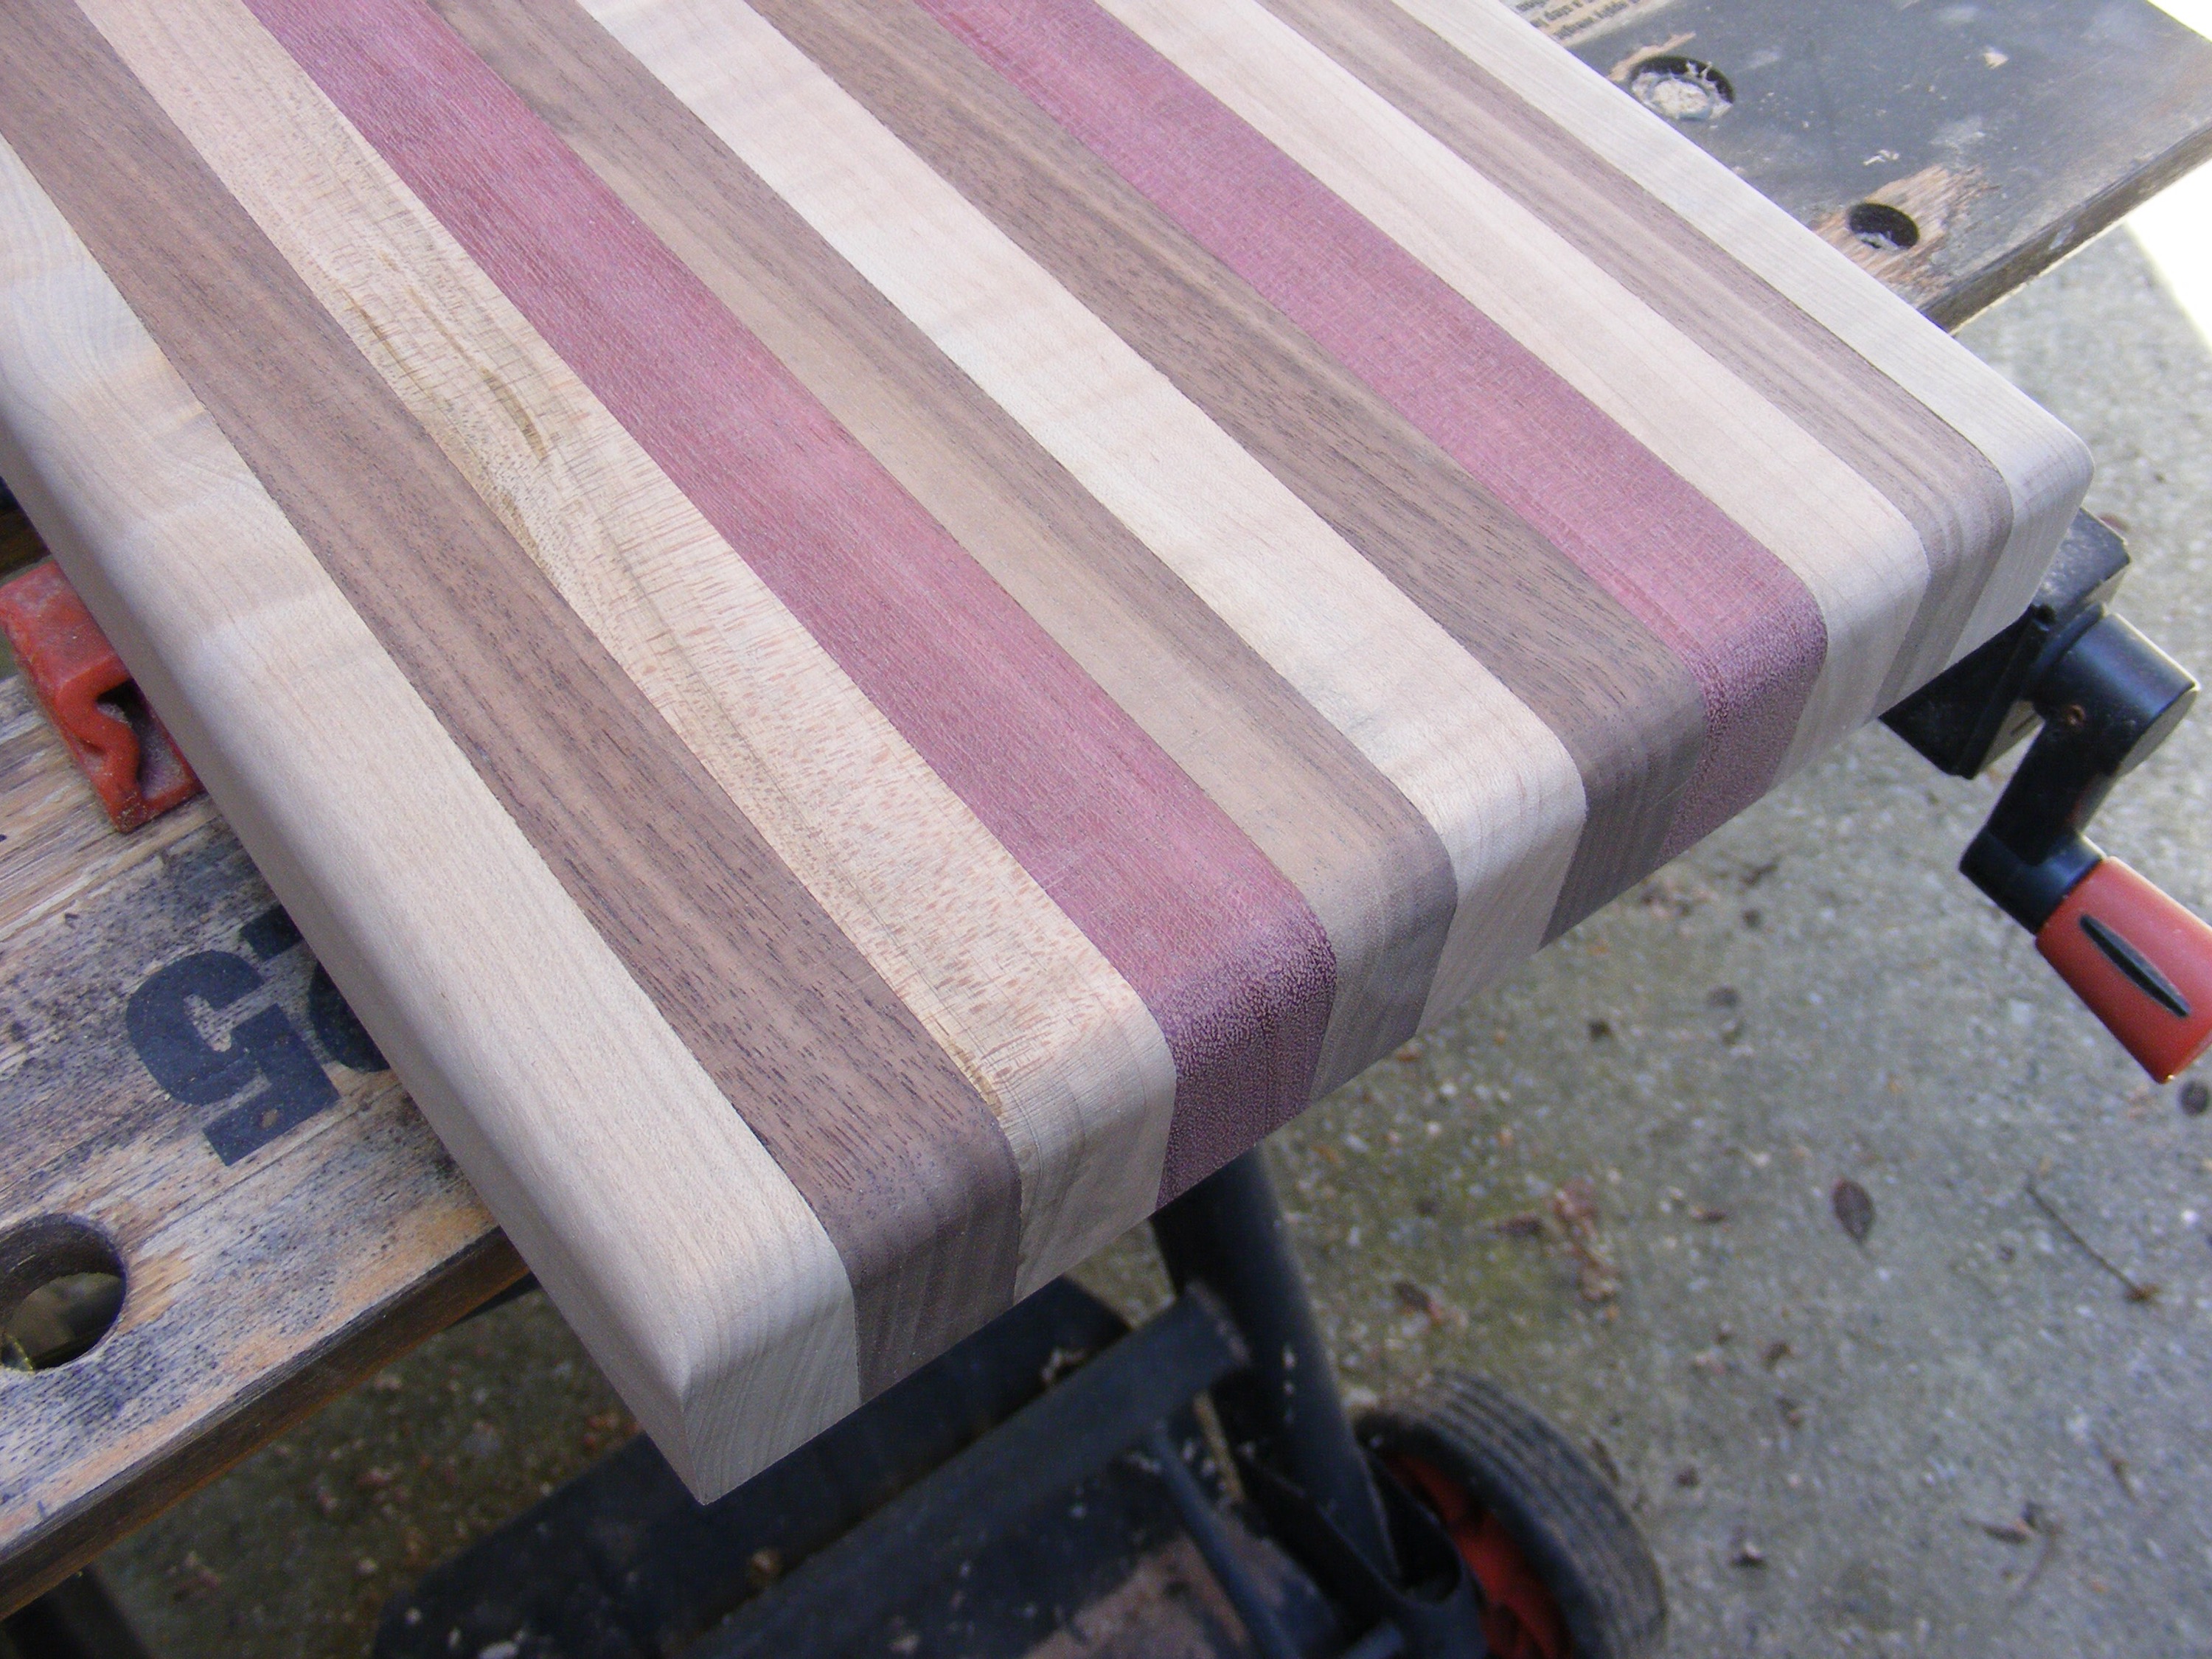
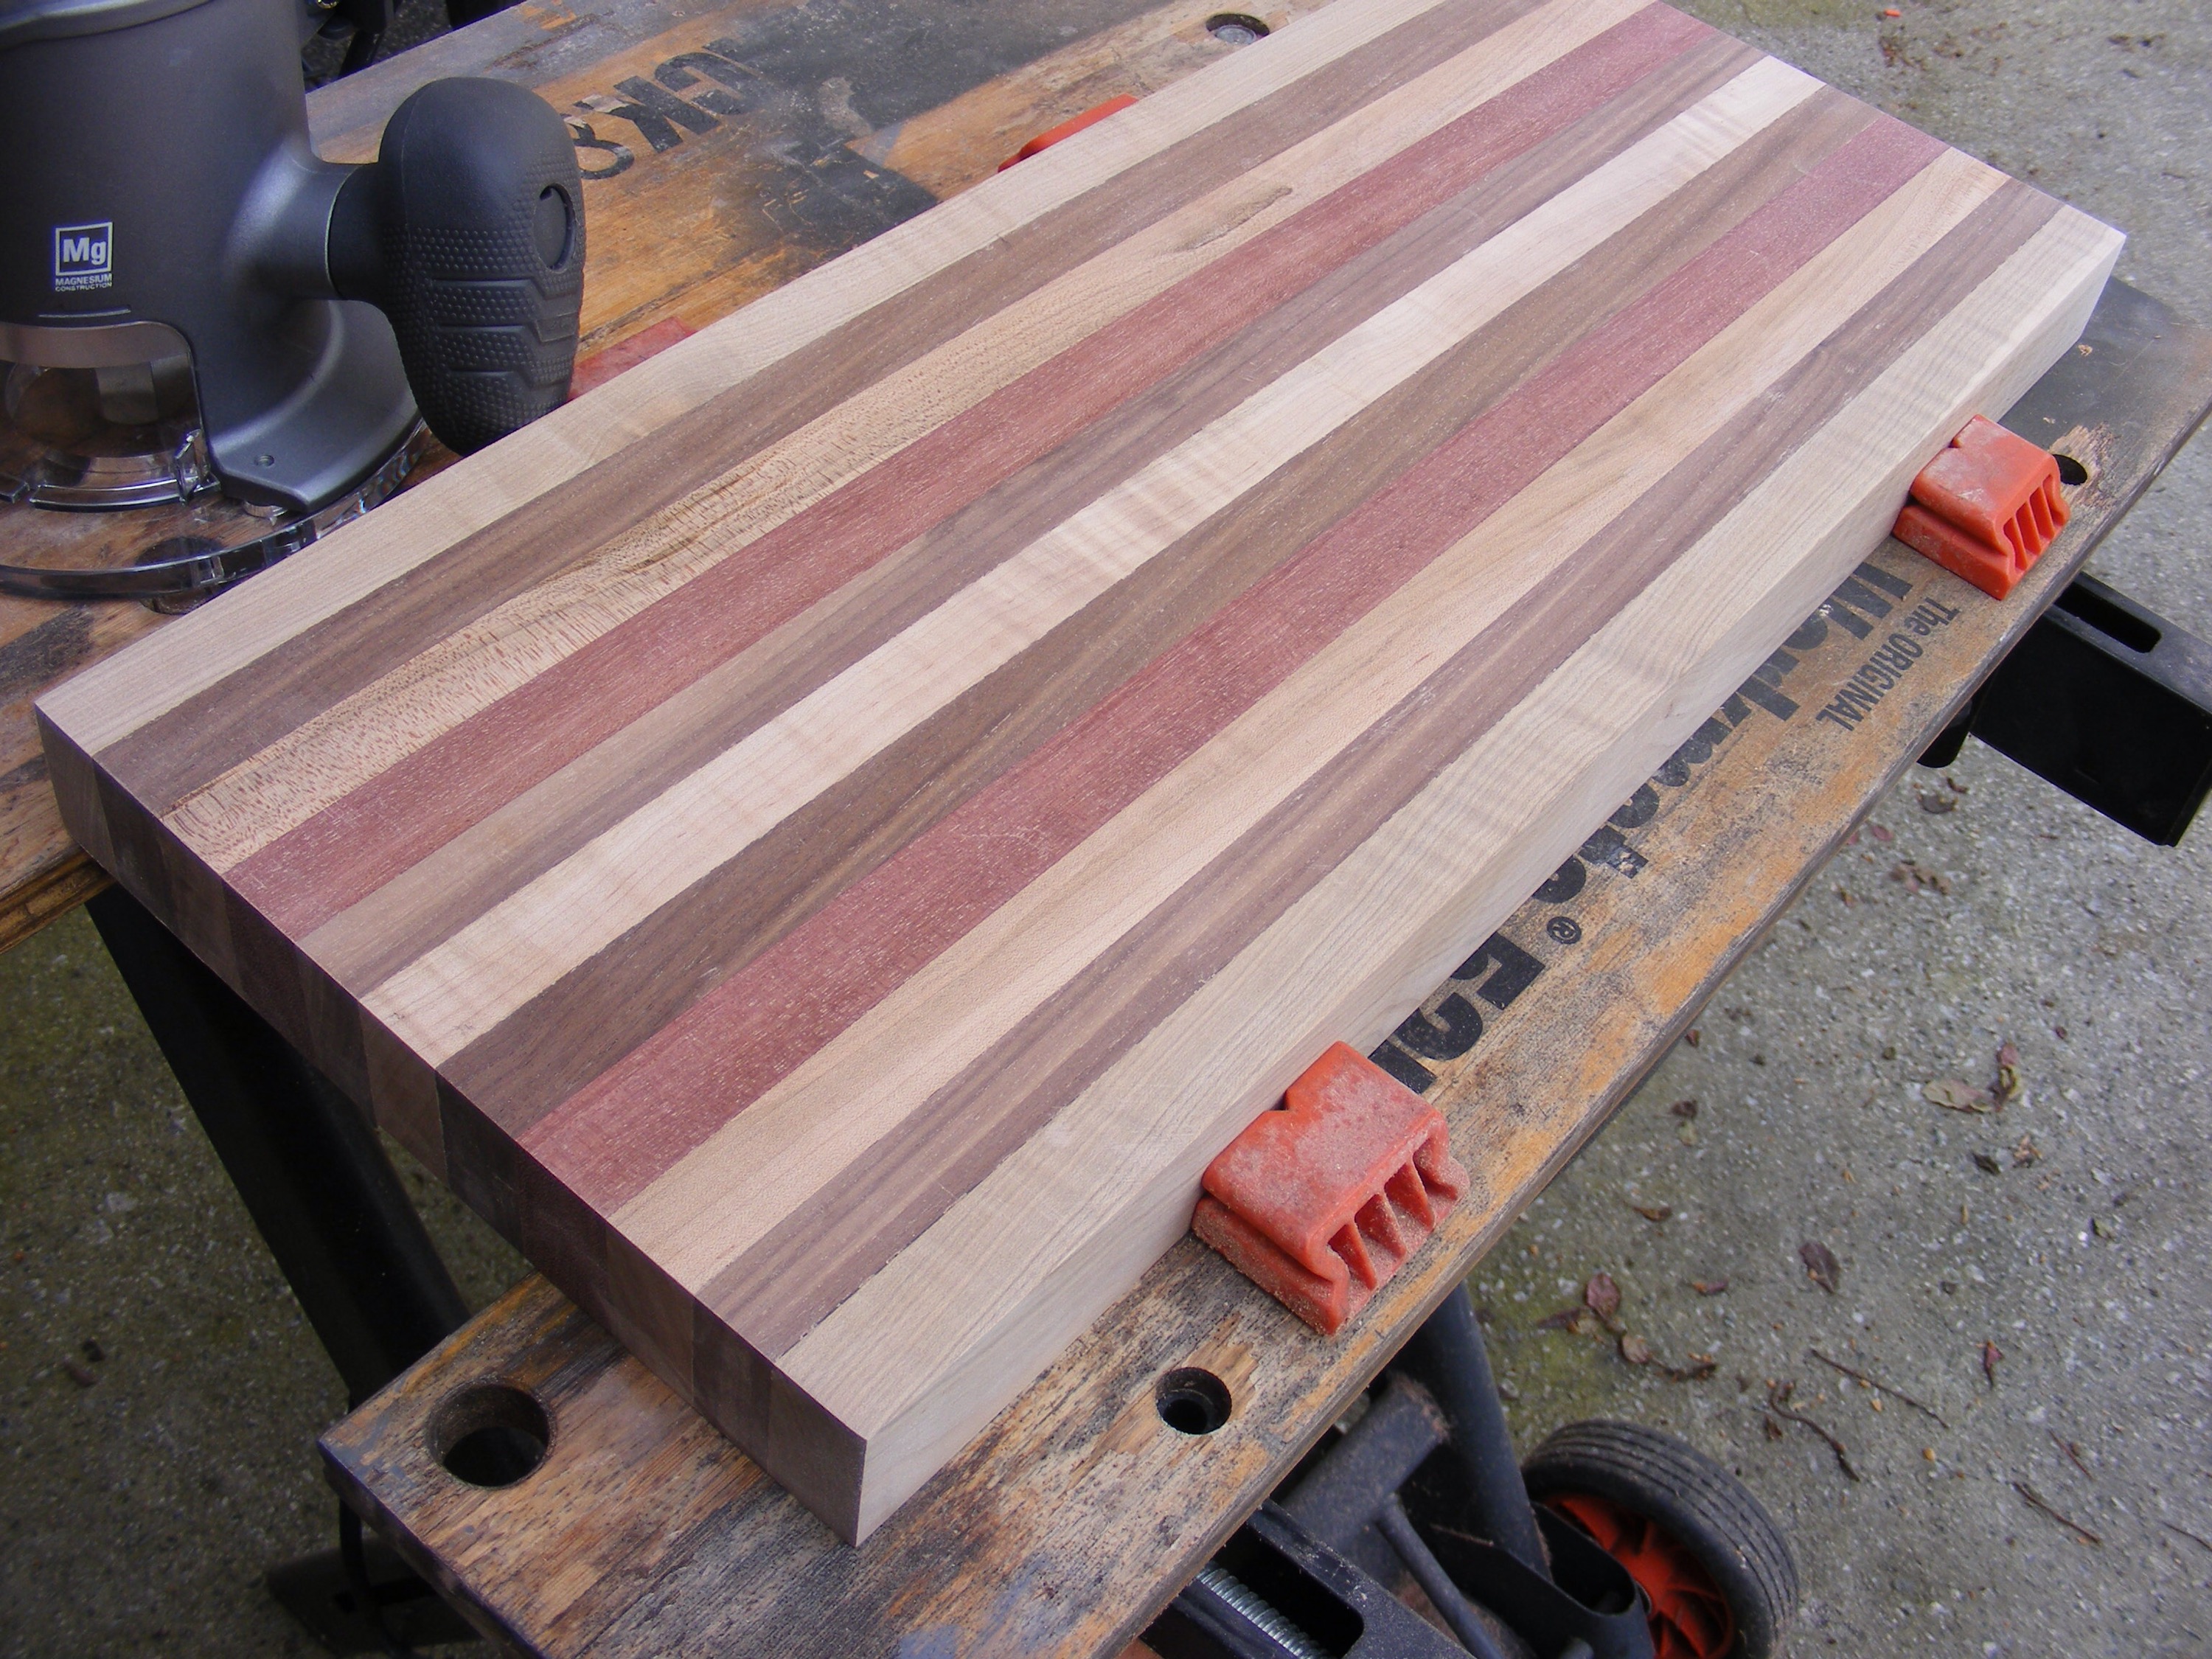
Step 9 – Router the edges to give it a rounded finish. I used my Rigid fixed-based router and a 3/8 inch radius rounding over bit. Take some 220 grit sandpaper and handsand over the routed edges. I then took some 400 grit sandpaper and handsanded the board 2 or 3 times. Okay—smooth enough! Don’t worry if you don’t have a router. You can sand the edges to get the same rounded contour. Or, you may choose another option.
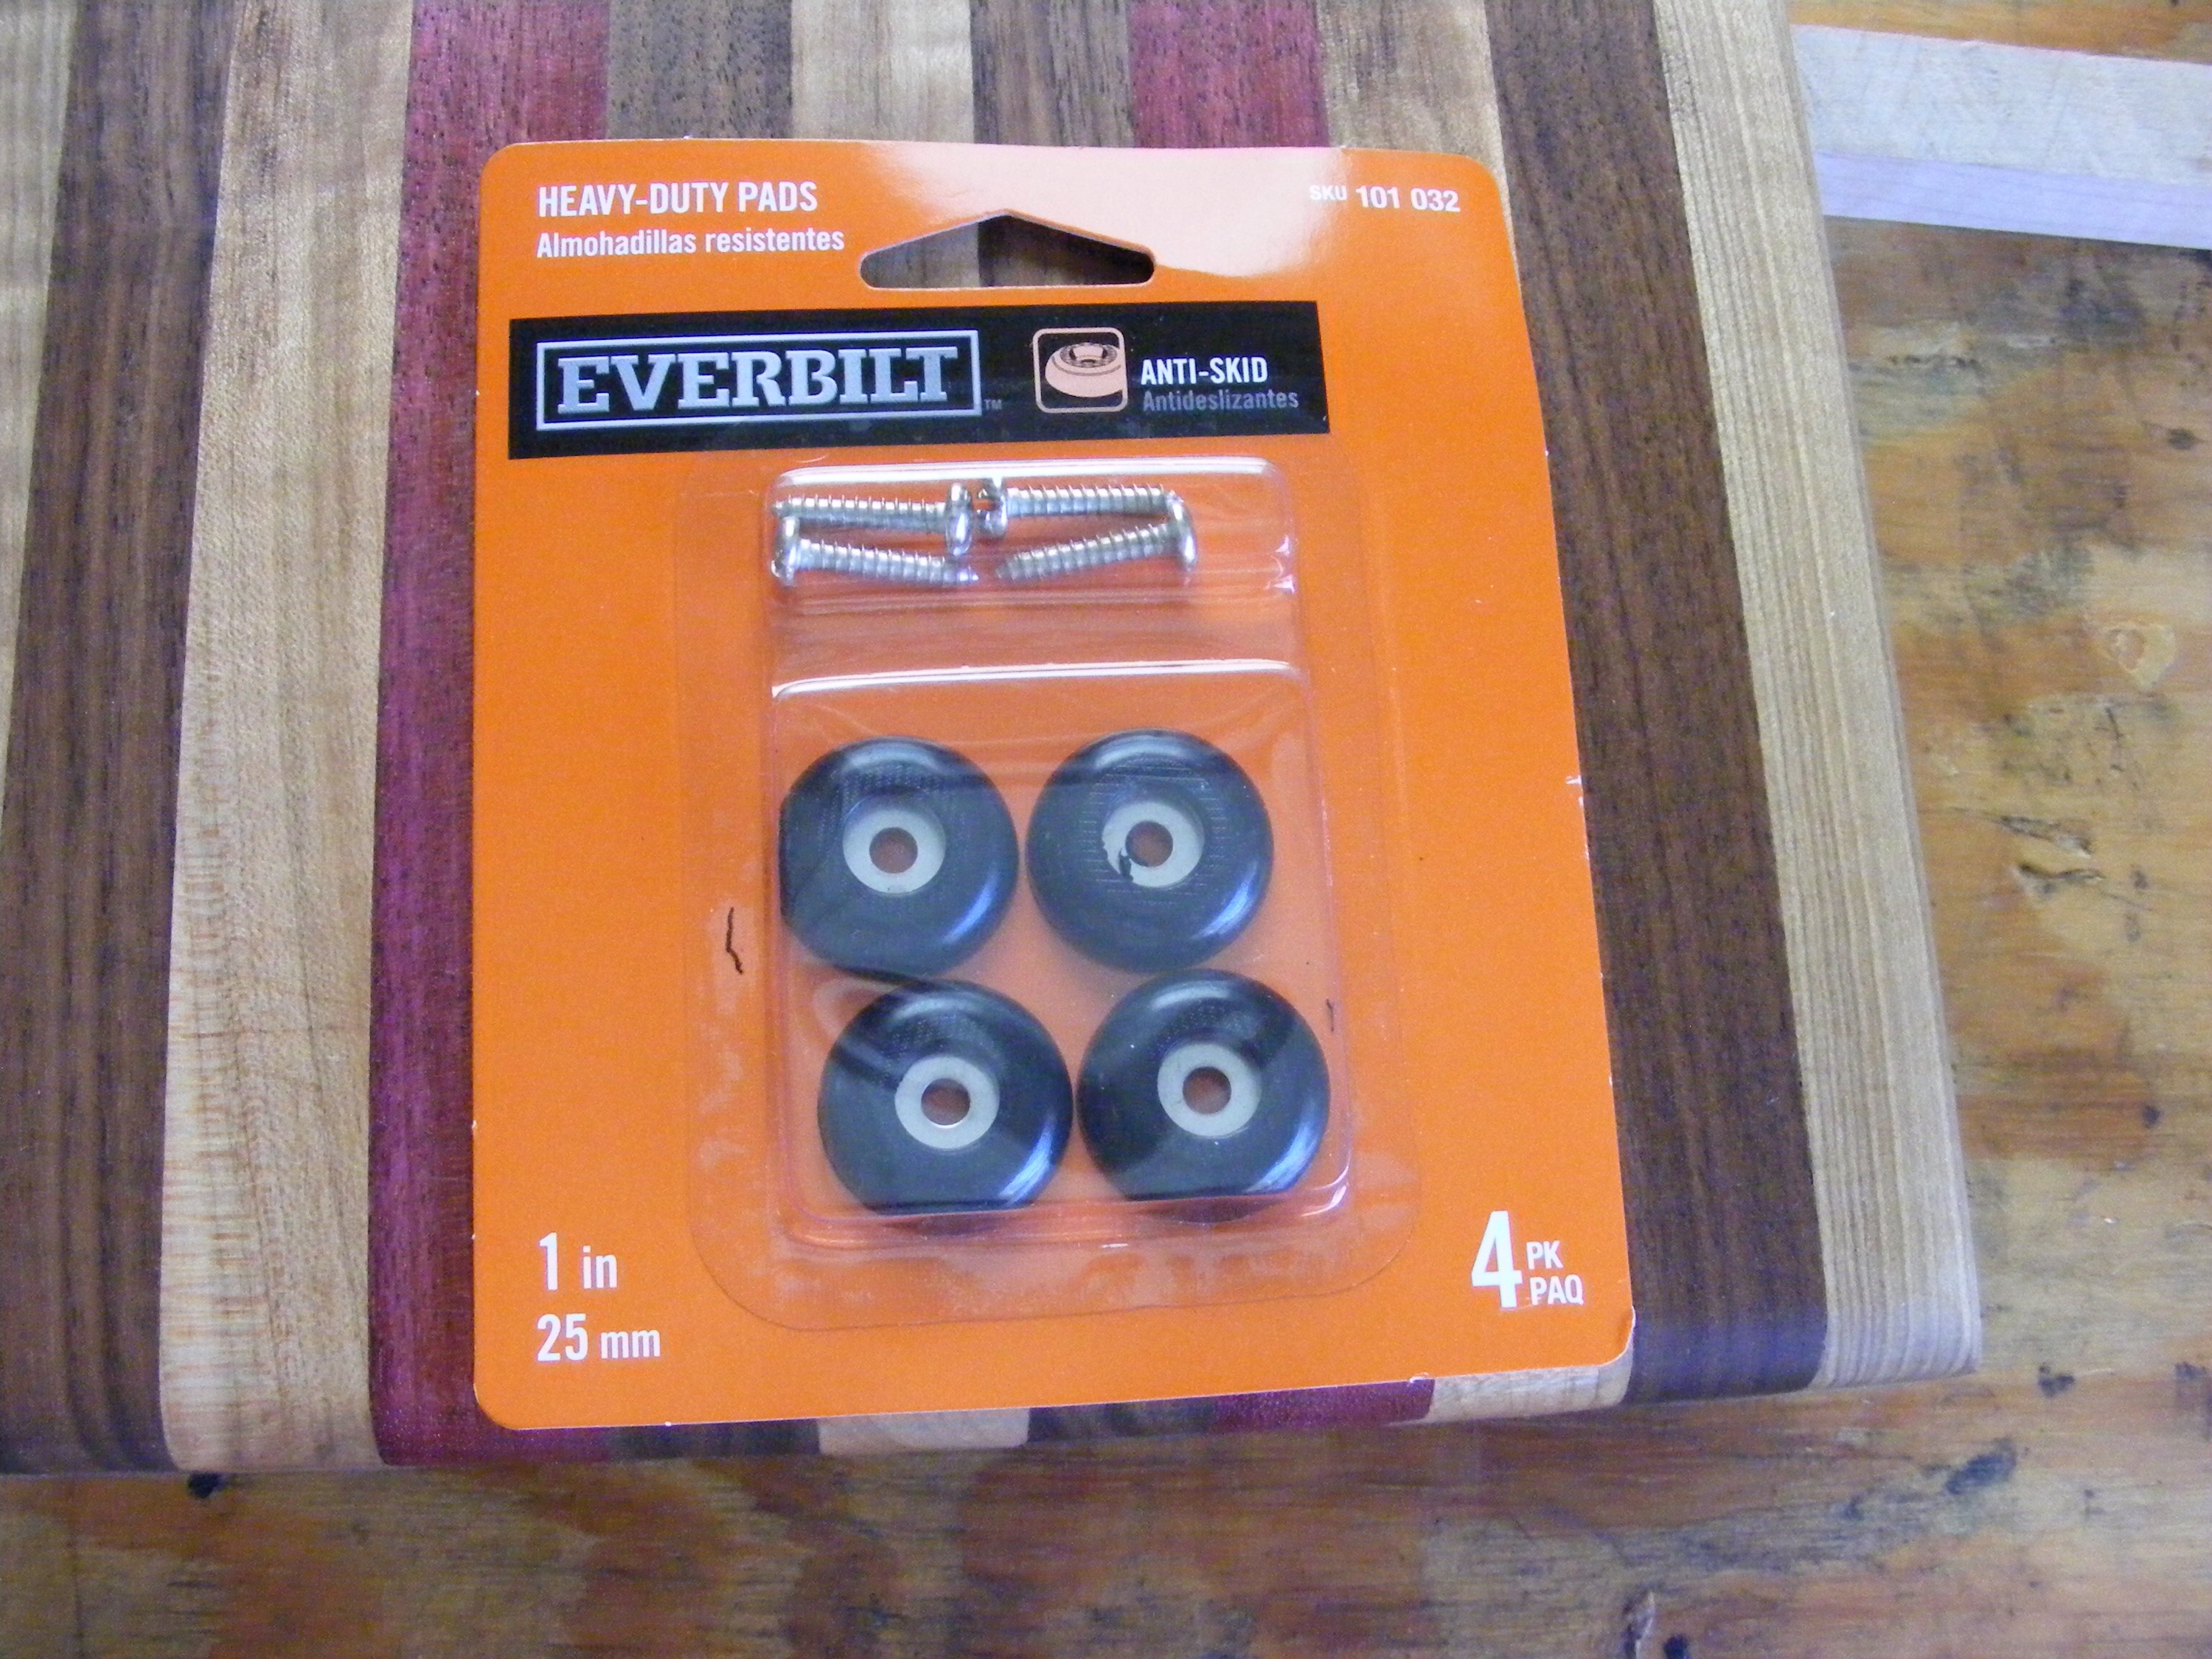
. Note that this is entirely optional. Many cutting boards don’t have this. However, if you decide to do this step, pick the side that has the least favorite appearance. You can get the rubber feet at Home Depot. I had to drill some small pilot holes because hardwood is tough!
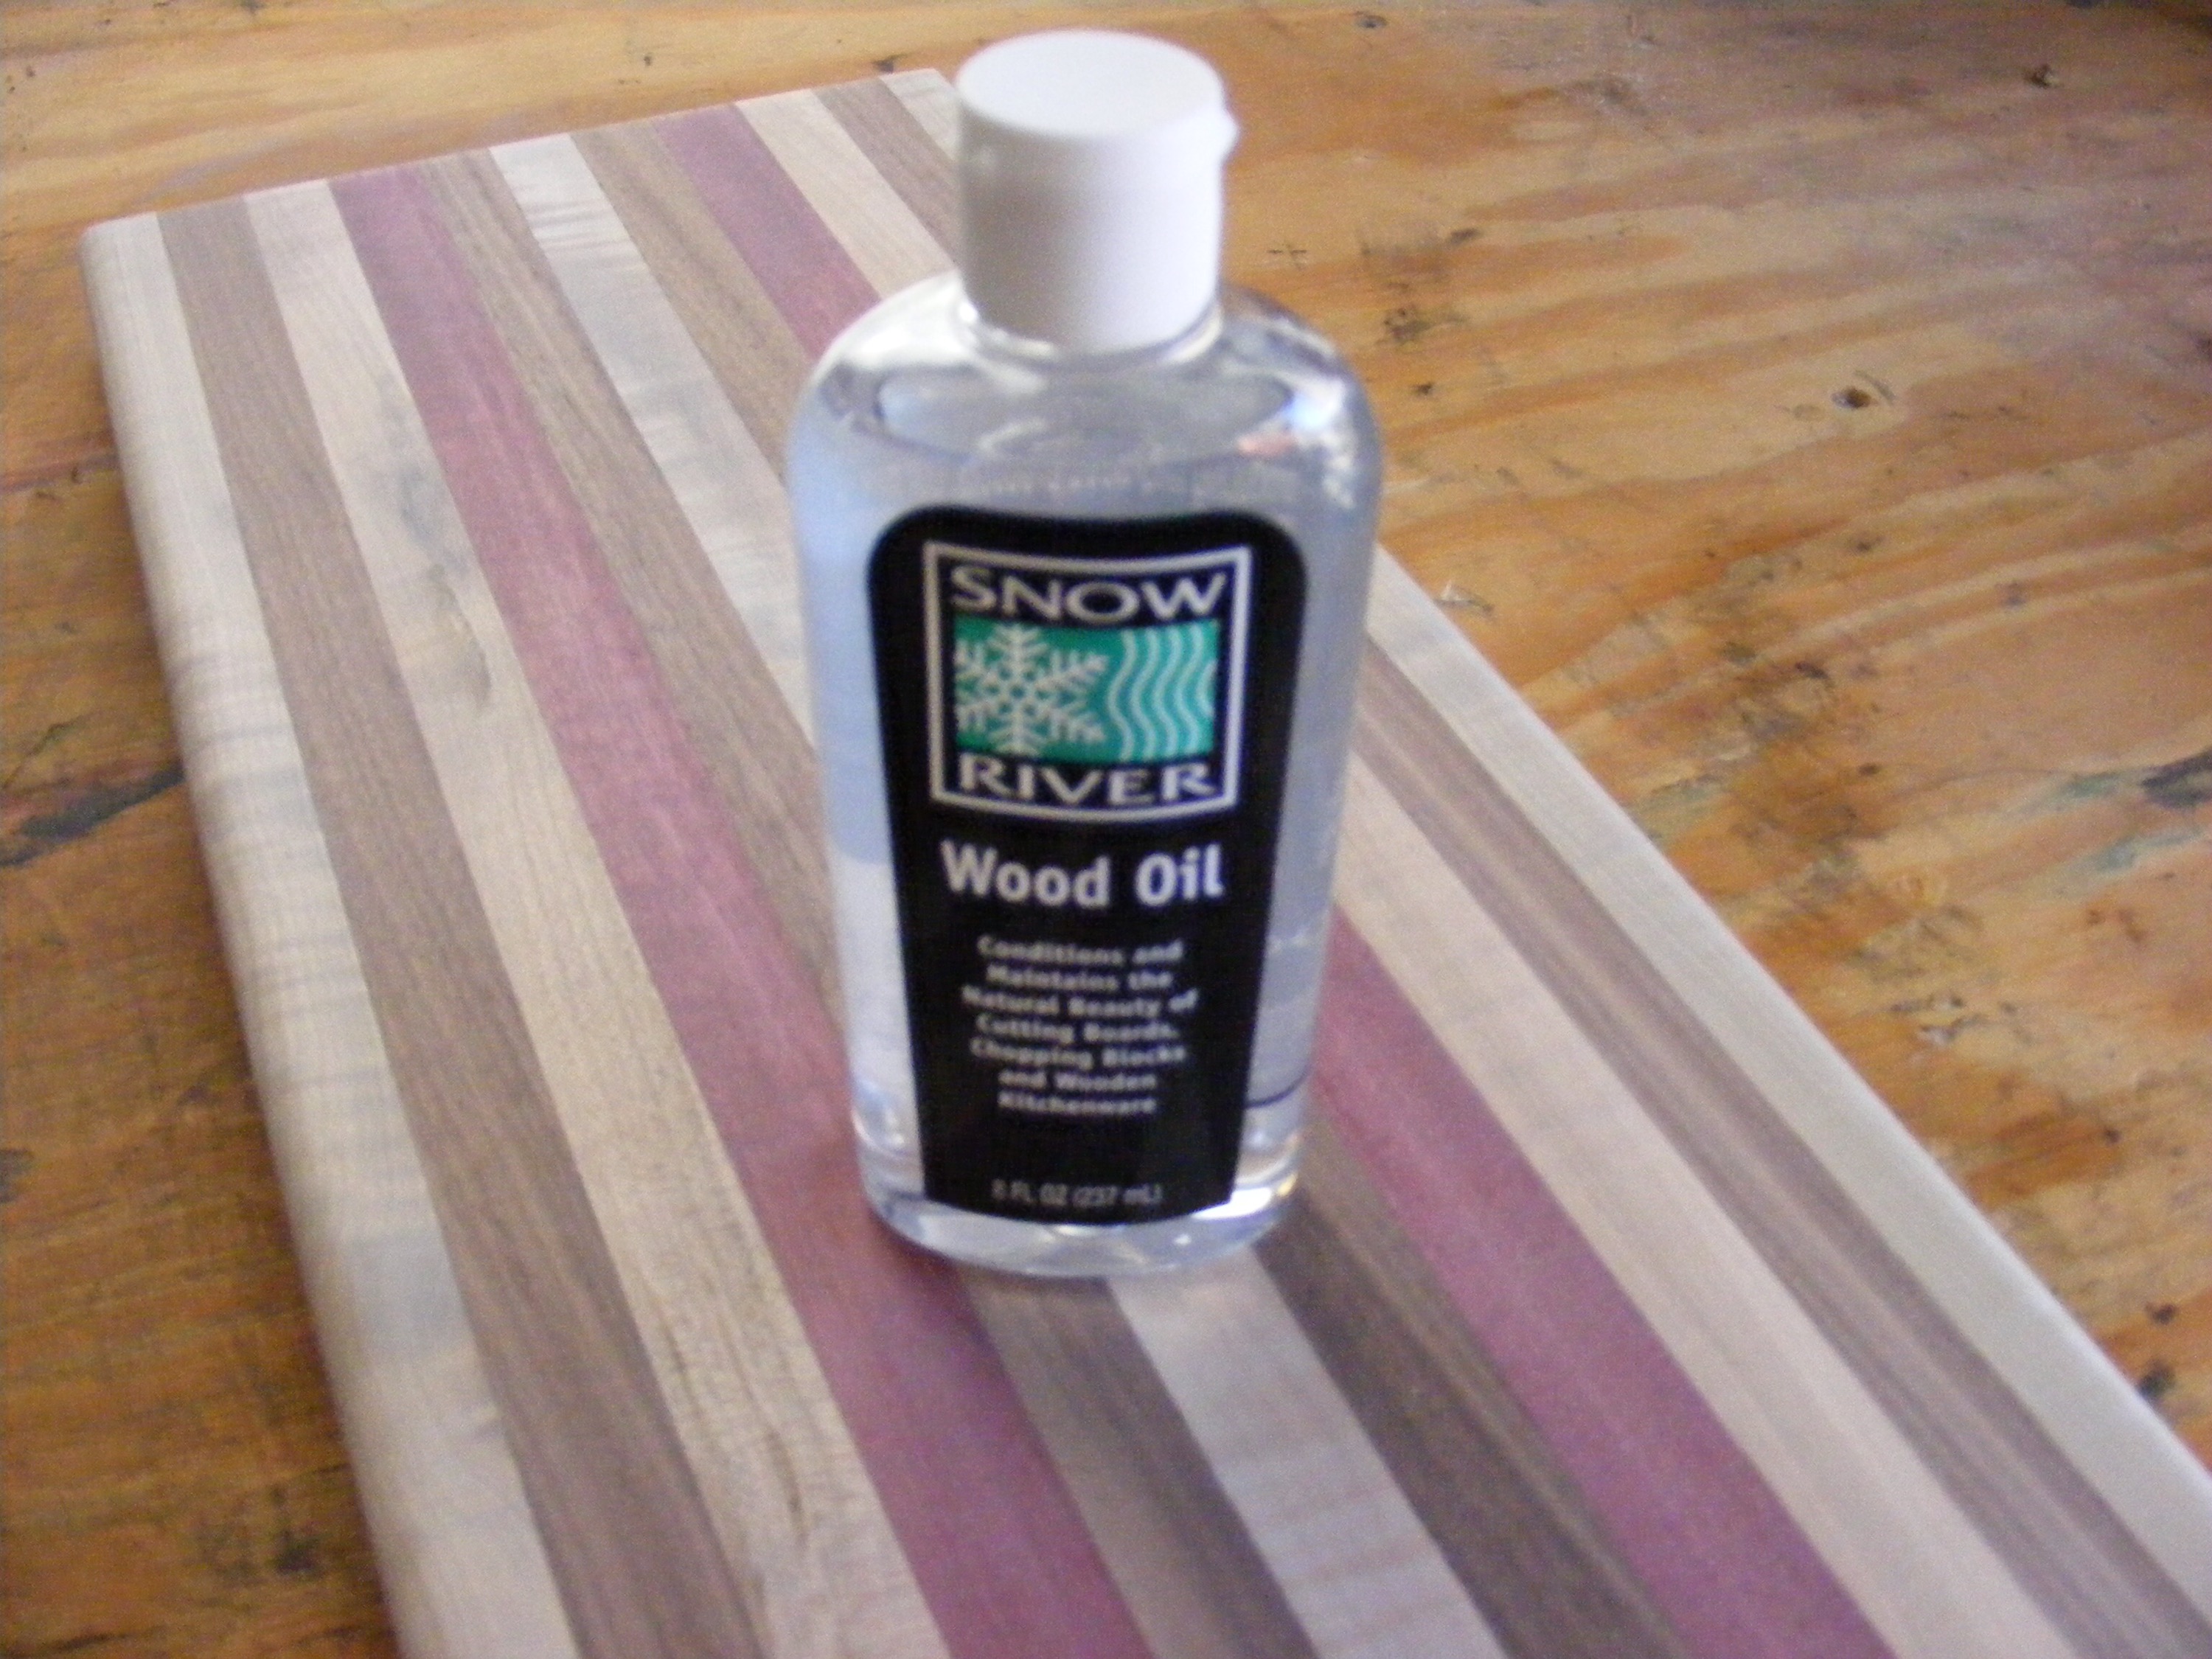
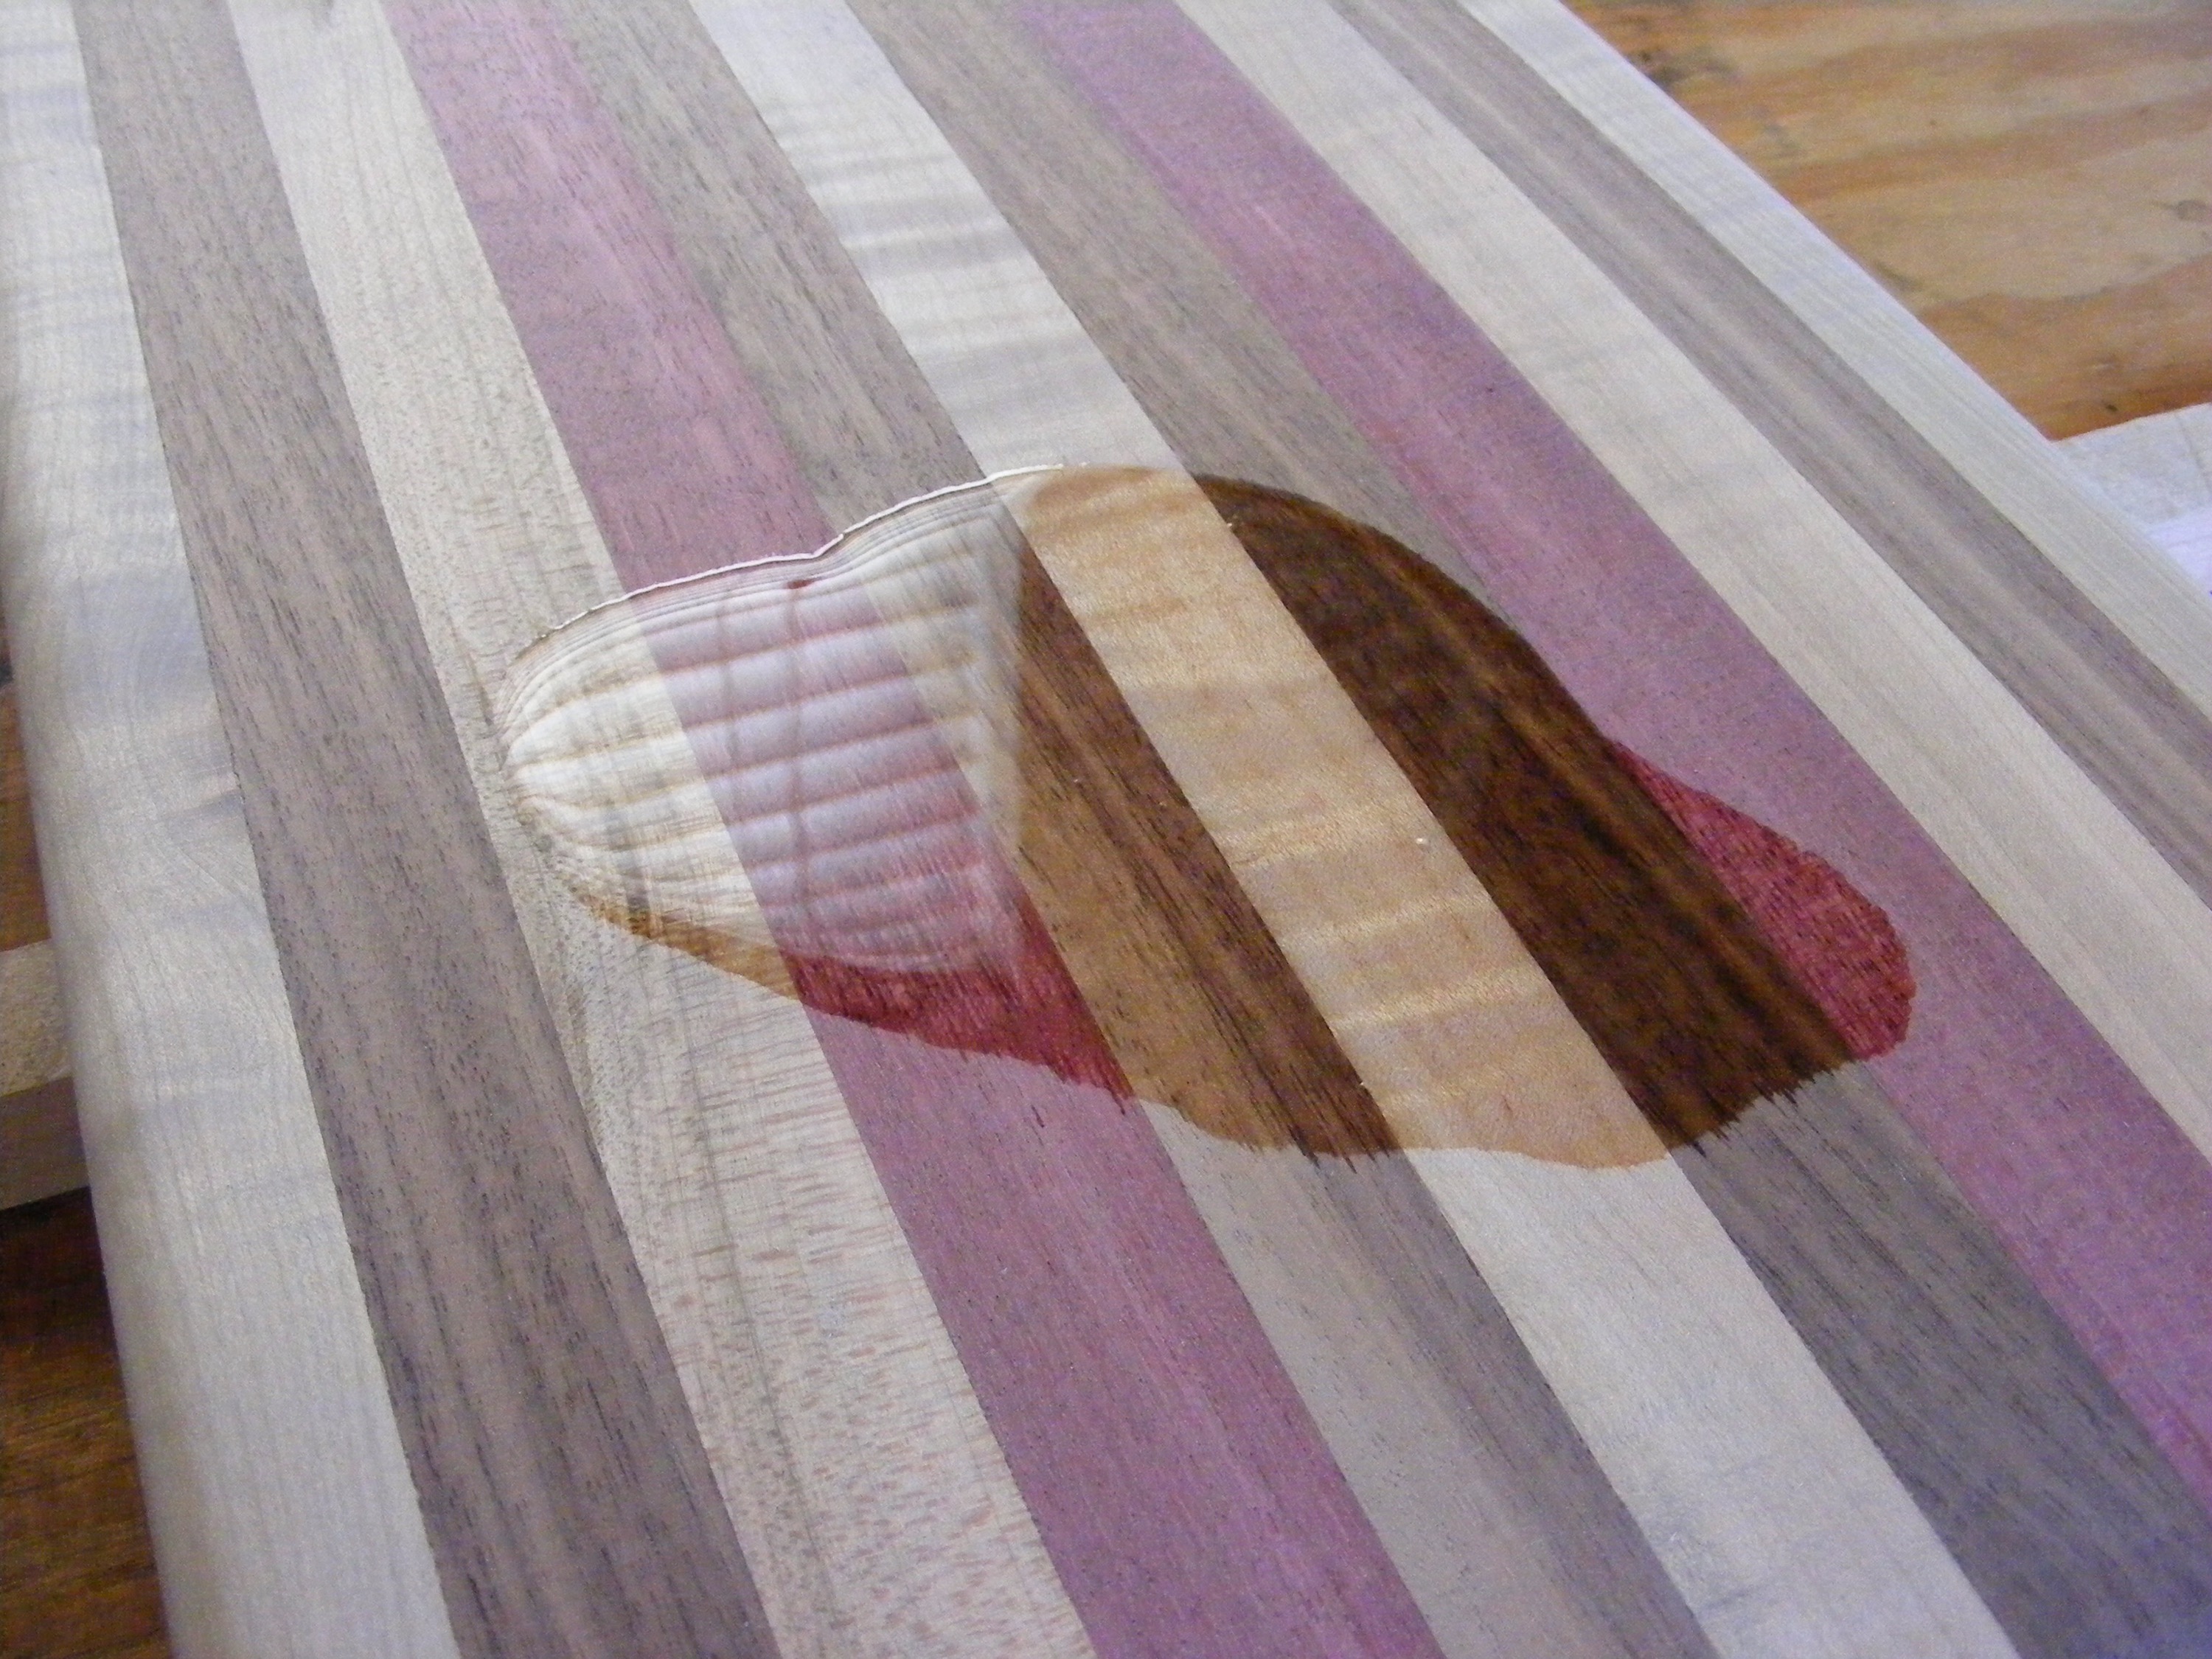
Step 11 – Finish your cutting board with mineral oil. Not only does the mineral oil make the wood grain and colors pop, it also helps to preserve the wood. The mineral oil will keep your cutting board from becoming brittle and cracking. Use a food-safe grade like Snow River. I got this mineral oil at Bed, Baths and Beyond.
If you want to learn more about taking care of your cutting board, check out my post on how to care for your wooden utensils. In that post, I also share a special recipe to make my own beeswax / mineral oil mix for preserving cutting boards and other wooden utensils.
I hope you enjoyed this tutorial. Please share this tutorial with friends and family and use the comments section below to share any questions or insights.
Safety disclaimer – Remember to wear all the appropriate safety gear and carefully read the operating instructions for all the power tools used in this project.
Original article and pictures take http://www.fouroakscrafts.com/make-first-wooden-cutting-board/ site
Комментариев нет:
Отправить комментарий